
DIY Tin Man Costume
 Email App
 Follow the yellow brick road this Halloween with a retro inspired Tin Man outfit from the Wizard of Oz. Create your own classic Tin Man costume with a few easy to follow steps in this do it yourself tutorial. First, gather together all of your materials:
- 4×6 foam board or stiff cardboard
- 10 inches x 20 inches cardboard for collar
- duct tape
- a toy axe
- 1 yard velcro
- thread
- 2 yards silver vinyl fabric
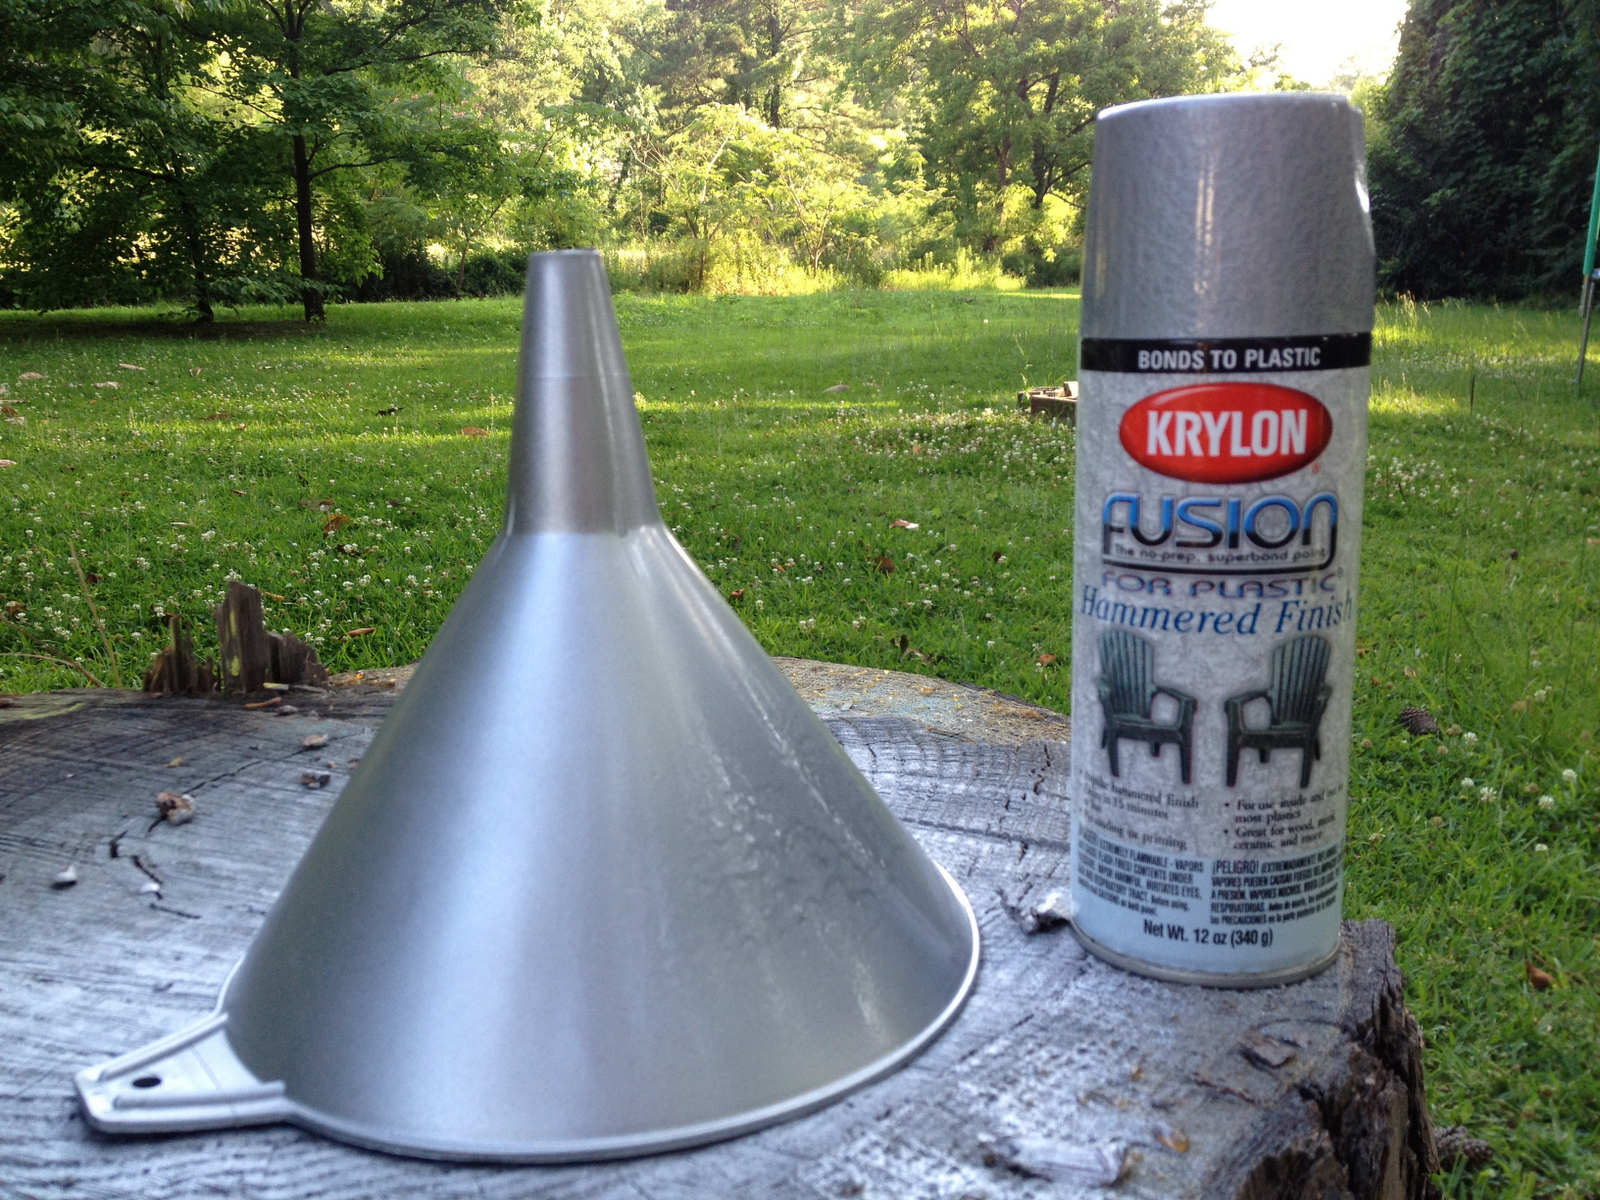
- plastic funnel – large enough to fit child’s head
- silver spray paint
- elastic for waist of pants
Once you’ve got everything together, let’s get to work:
- Measure your child’s shoulder width
- Cut an oval shape – extending the shoulder width from the foam board / cardboard.
- Cut a hole in the oval to allow for the childs head to go through.
- Cut the barrel for the body from cardboard. Make sure it can go around the entire circumference of the shoulder.
- Cut holes in the barrel for the arms to go through.
- Cut the collar piece from cardboard.
- Cut your vinyl fabric to match the cardboard and foam sections you have already cut. Allow for a 1/2 inch seam allowance.
- Duct tape the shoulder section to the body-barrel section.
- Duct tape the collar to the shoulder section.
- Sew your vinyl fabric pieces together. For the rear of the body section, instead of sewing a seam apply your velcro to allow for taking the costume on and off.
- Attached your vinyl fabric to the cardboard / foam board. You can use glue or hand tack it in place.
- Sew a basic pair of pants with elastic waistband.
- Spray paint the funnel and allow several days to air out.
A cute pick for kids but equally cool for adults, everyone will instantly recognize this classic costume. Check out our wide variety of fabric options, like our Silver PVC Fabric, available for sale here at MJTrends. Follow these simple steps, and you’ll be well on your way, off to see the Wizard, the wonderful Wizard of Oz.
Written by Jade Nicolette


No Comments