
Men’s Latex Shirt Tutorial
 Email App
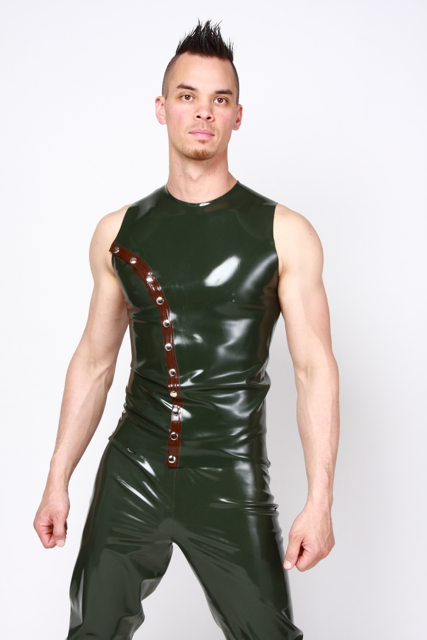
This season is all about taking an unexpected approach. Get started by mixing in a few latex pieces into your wardrobe. Make a customized latex shirt of your own with this simple and easy DIY tutorial from our team here at MJTrends.
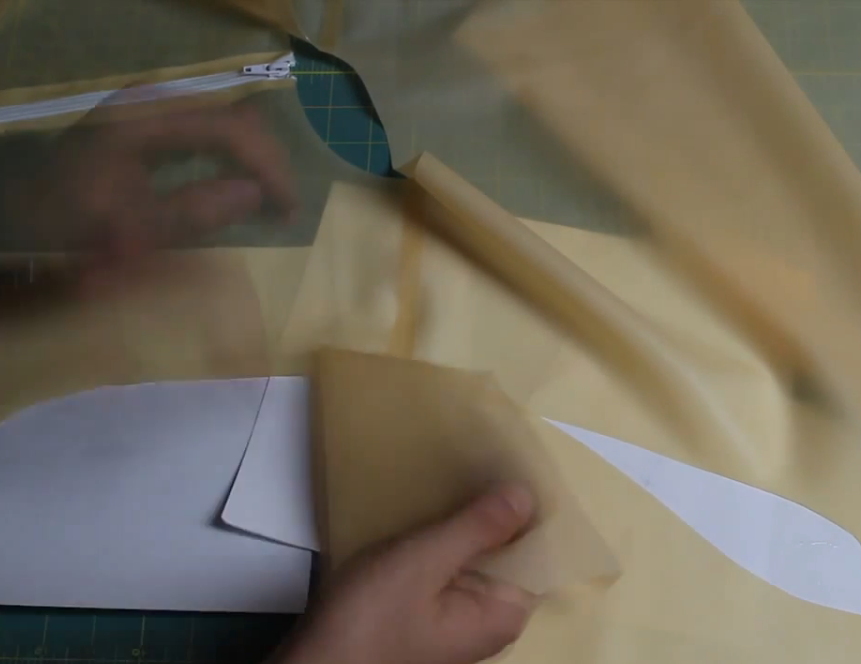
- First, get started by cutting out your pattern. Ensure a precise measurement by using a rotary cutter to slice through the pattern.
- Next, find the middle of the front of the shirt and cut it in half, allowing for space for the zipper.
- You can also use this time to trim the excess off the top part of the zipper.
- Then, you’ll need to apply about two to three coats of glue to the zipper, and then you’ll want to glue the zipper to the shirt. Make sure to keep the sheeting laying flat, and then press the zipper directly onto it, which will ensure that the latex fabric won’t become stretched out.
- Glue the two shoulder sections, including the front shoulders to the rear shoulders.
- After that, you’ll glue the sleeves together. If you have any excess fabric stemming from the sleeves, you’ll want to trim the overage with a rotary cutter. Make sure to work slowly and carefully to avoid any accidental mistakes.
- Glue the front portion to the back section, beginning at the armpit seam.
Whenever you are working with glue, try putting some paper underneath to catch any extra spills or drops. The finished product is totally jaw-dropping, and you’ll turn heads no matter where you’re headed. Create an edgy yet effortless look with a latex shirt. To get started, make sure to browse our website for a wide selection of latex fabric options.

Matching Products:
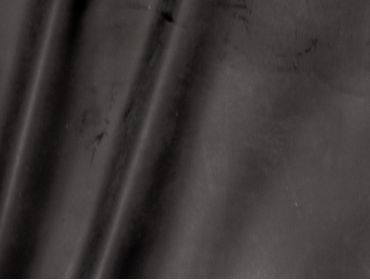
Black .30mm
$13.99

Metallic Bronze .30mm
$10.99
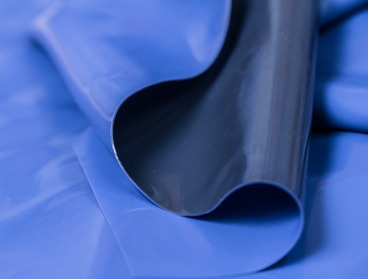
Double Sided Blue Navy .30mm
$13.99
No Comments