0
There no items in your cart.
Checkout
MJTRENDS

Gather your supplies

You'll need the following.

  1. 4-way stretch fabric or latex sheeting in 2 contrasting colors
  2. Tulle
  3. Thread (if using fabric)
  4. 1 inch wide elastic
  5. Custom-fit Sewing Pattern
  6. 3 Buttons

Cut out your pattern

If you are using fabric, cut out your front section, then cut out another front section from the contrasting fabric to be used as the liner and facing. If using latex, cut out the 'latex lower collar facing'.

Using the tulle guide - cut out your tulle per the guide length and the width should be 10x what the guide shows. EG: if the guide is 20 inches wide and 26 inches long, then you piece of tulle should be 26 inches long and 200 inches wide (20 x 10).

Gather Tulle

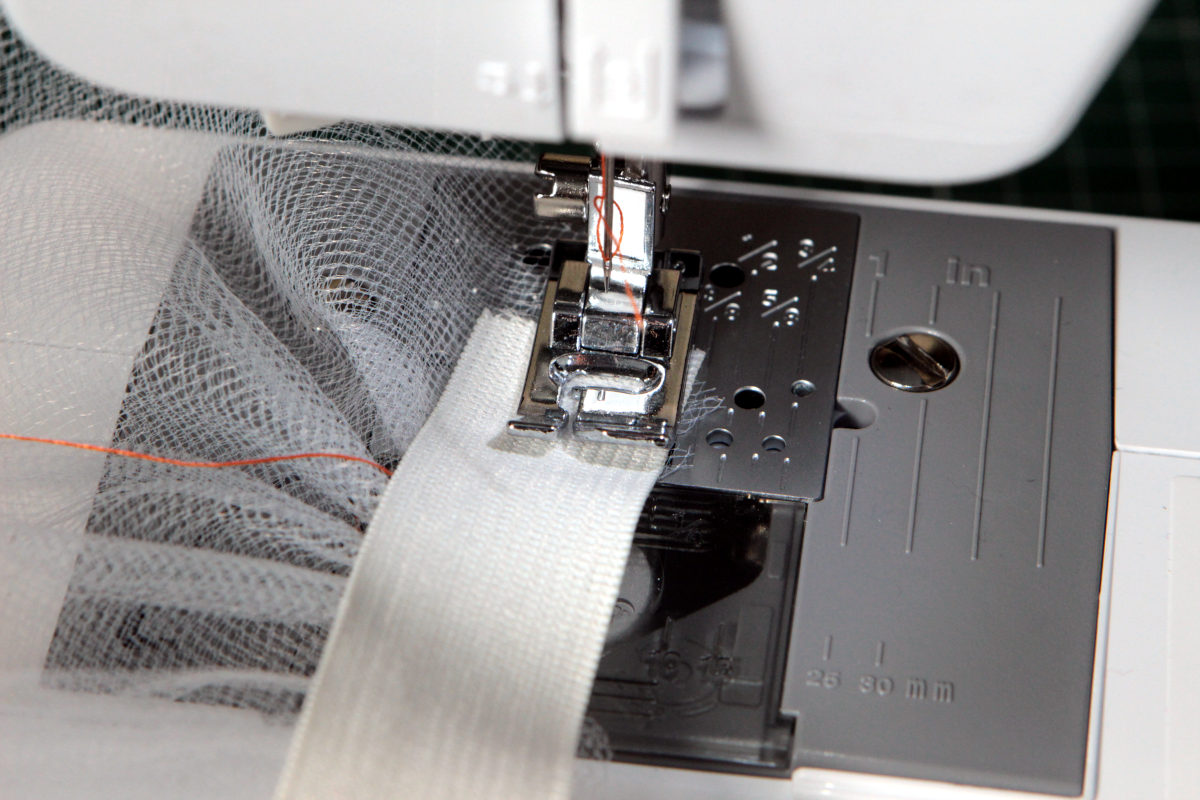
Using your fingers to gather the top of the tulle, stitch across the entire width of the tulle.

Fold over the gathered tulle so that it measures the same width as your tulle lining and straight stitch with a medium stitch length across the top.

Sew Tulle to Elastic Waistband

  1. Straight stitch the tulle to a 1 or 1.5 inch piece of elastic for the waistband, stitching 1/4 inch above the bottom of the elastic.
Sewing the gathered tulle to waistband
  1. Overlap the ends of the elastic by 1/2 inch and stitch the end of the elastic together using a tight zig-zag stitch.
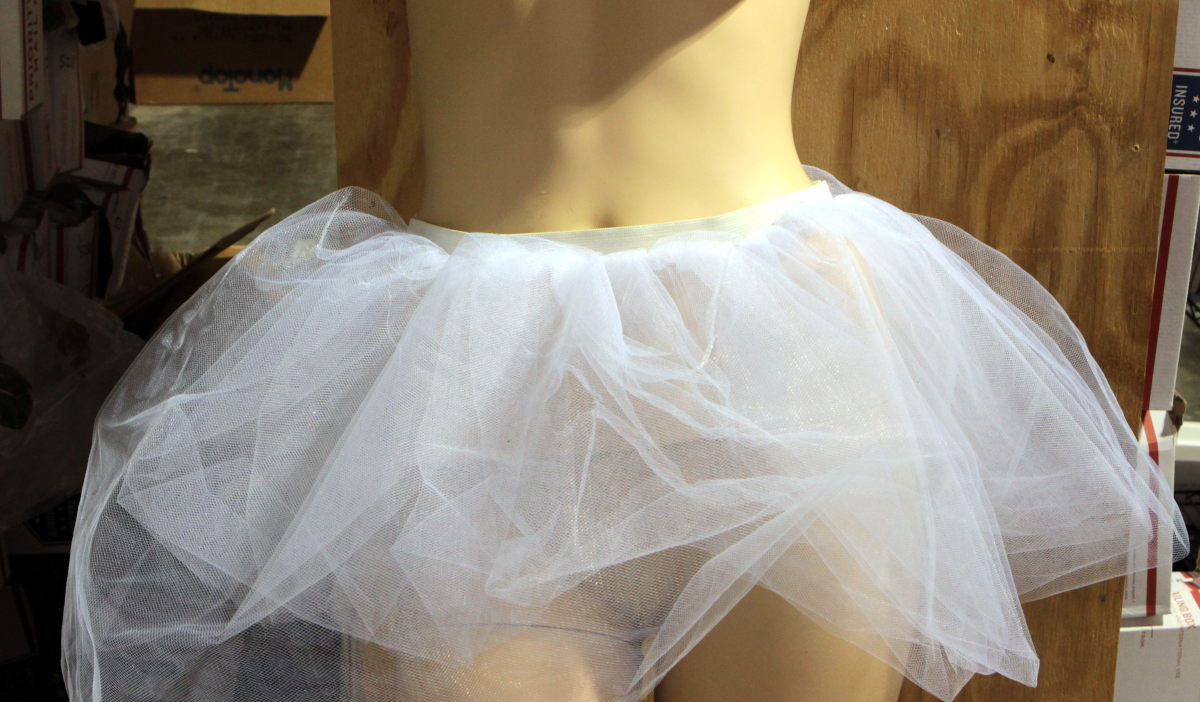
  2. The tulle skirt is now complete.  This will be pulled on and worn beneath the waitress dress.
The finished tulle underskirt / petticoat.

Attach lower collar facing

If using latex, glue the lower collar facing to the front left section.  Repeat for the right front section.

If using fabric:

  1. Create the facing by cutting the front section from your facing material.
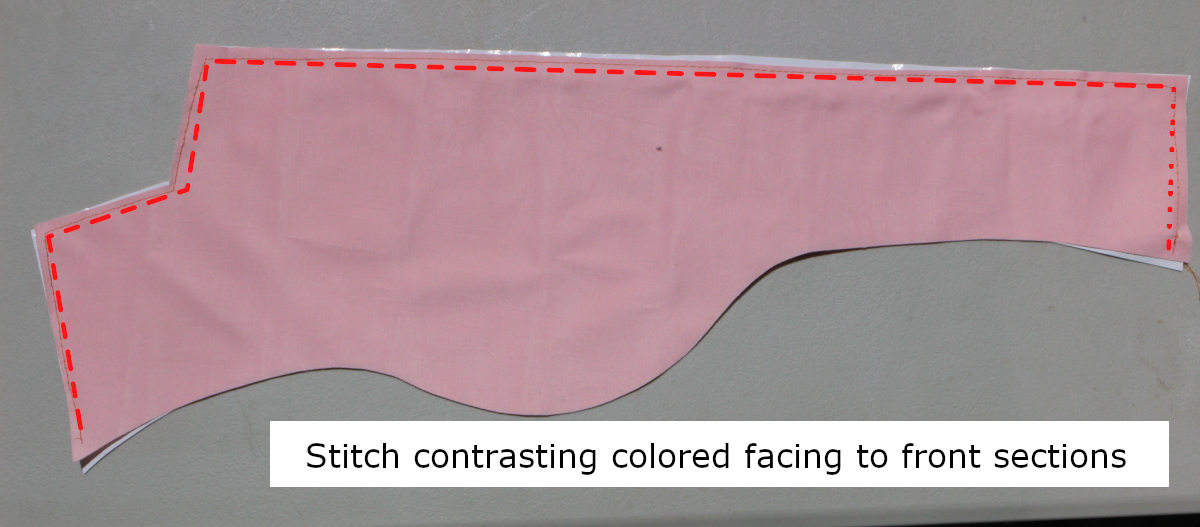
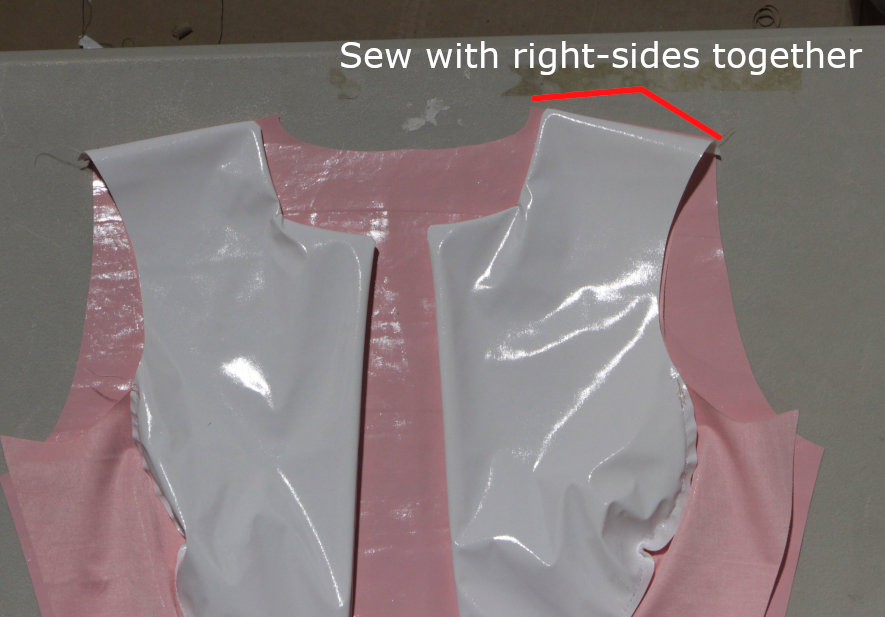
  2. With right sides together, sew the left facing section to the left front section, but do not sew the seam that connects to the side front.
Sew contrasting facing to the front top section with right-sides facing together.
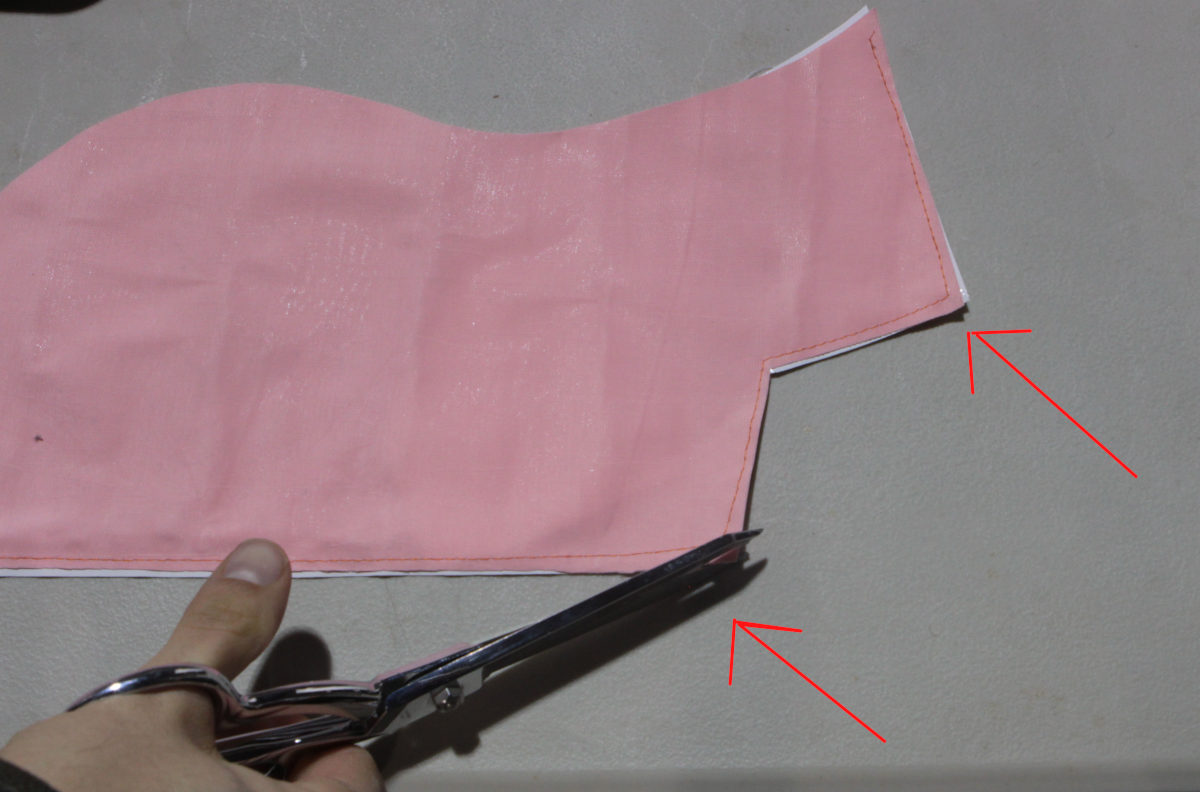
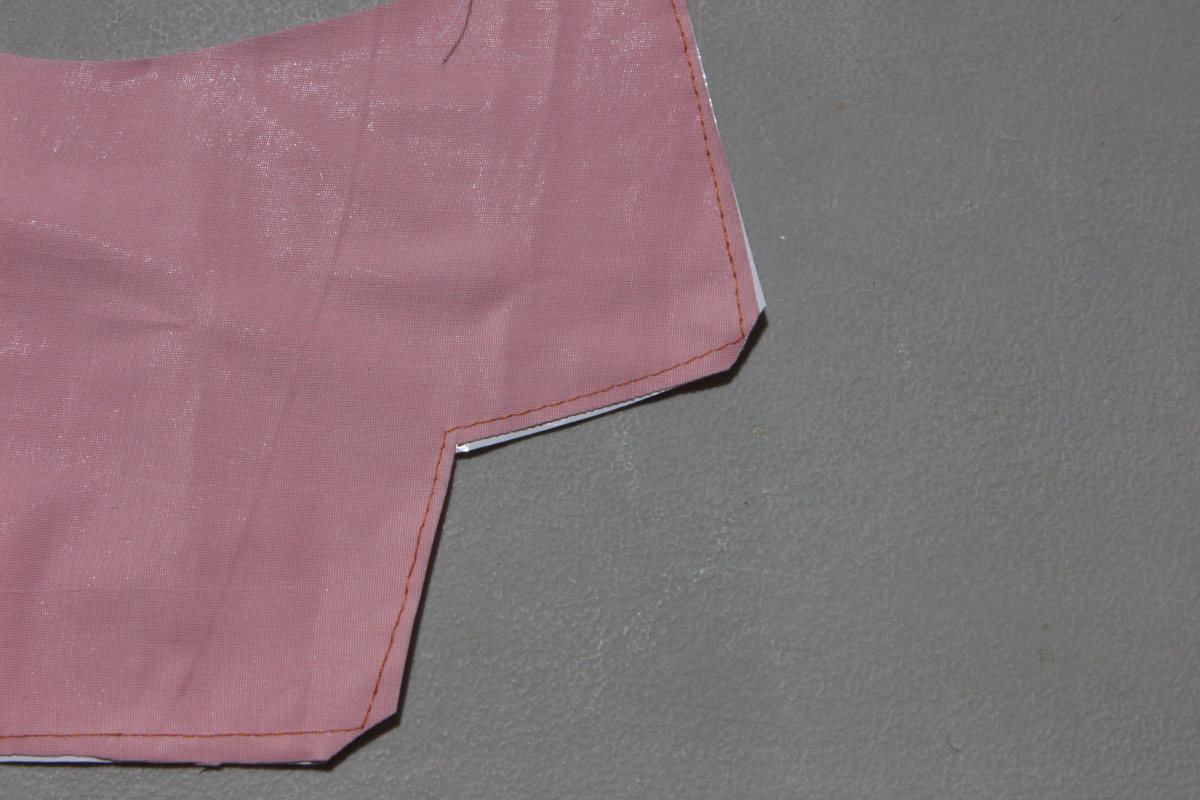
  1. Trim away excess material at the corners so that when the material is folded right-side out the corners are sharp.
Trim excess material from corners.
Trimmed corners.
  1. Press the seam with an iron.
  2. Repeat for the right side facing and right front section.

Attach front to side front

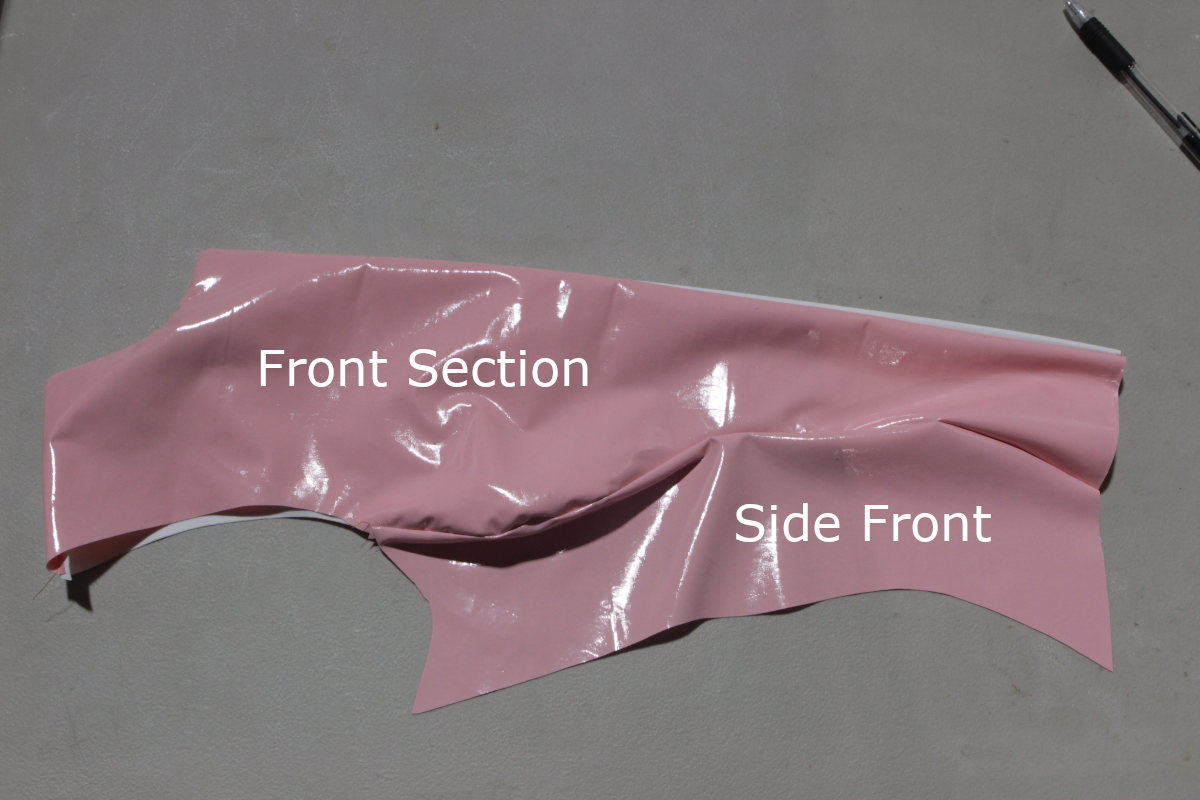
With right sides together, sew (or glue if using latex sheeting) the left side-front section to the front.

Repeat for the right side-front.

Add buttons to front

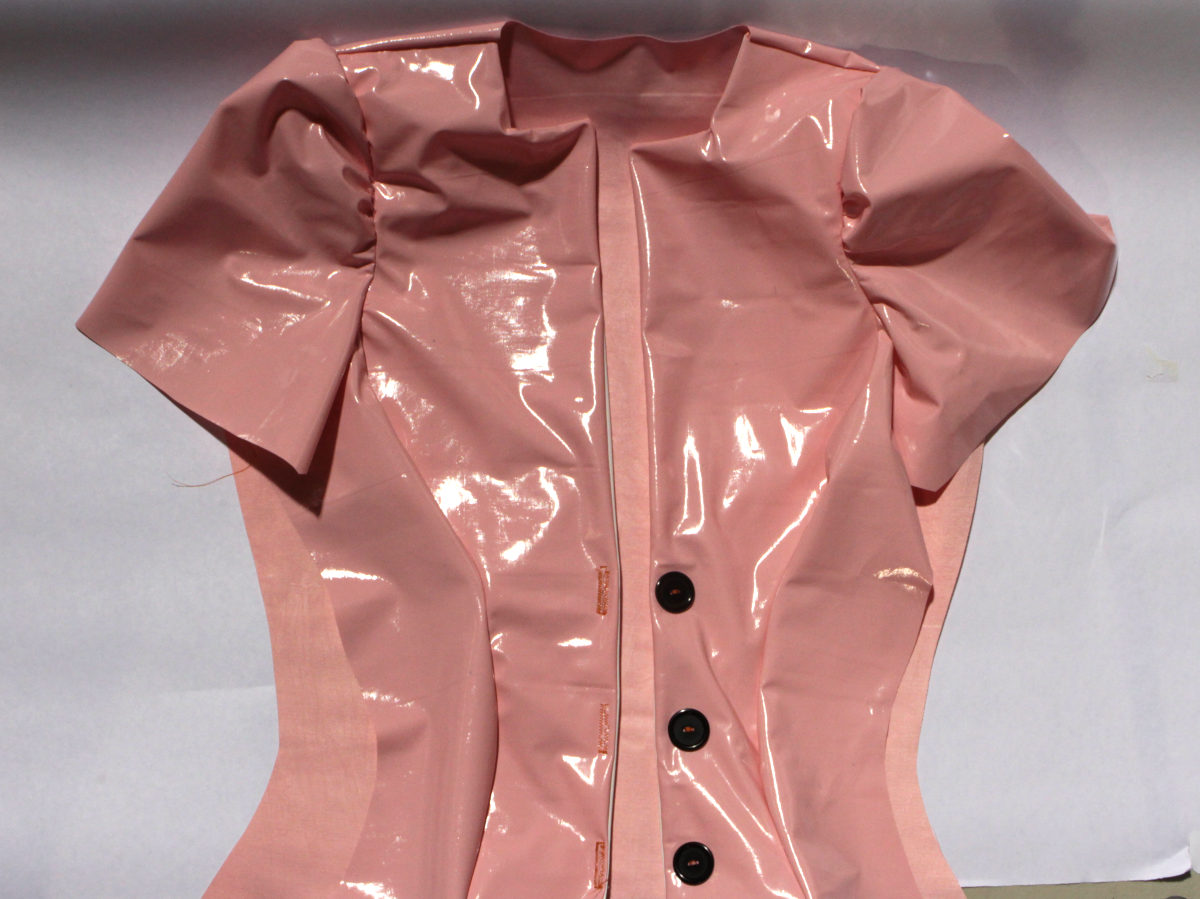
Sew buttons to the front section according to the button guide. If using latex sheeting, sew your buttons or super-glue the buttons to a small square strip of sheeting, then glue this strip to your front section.

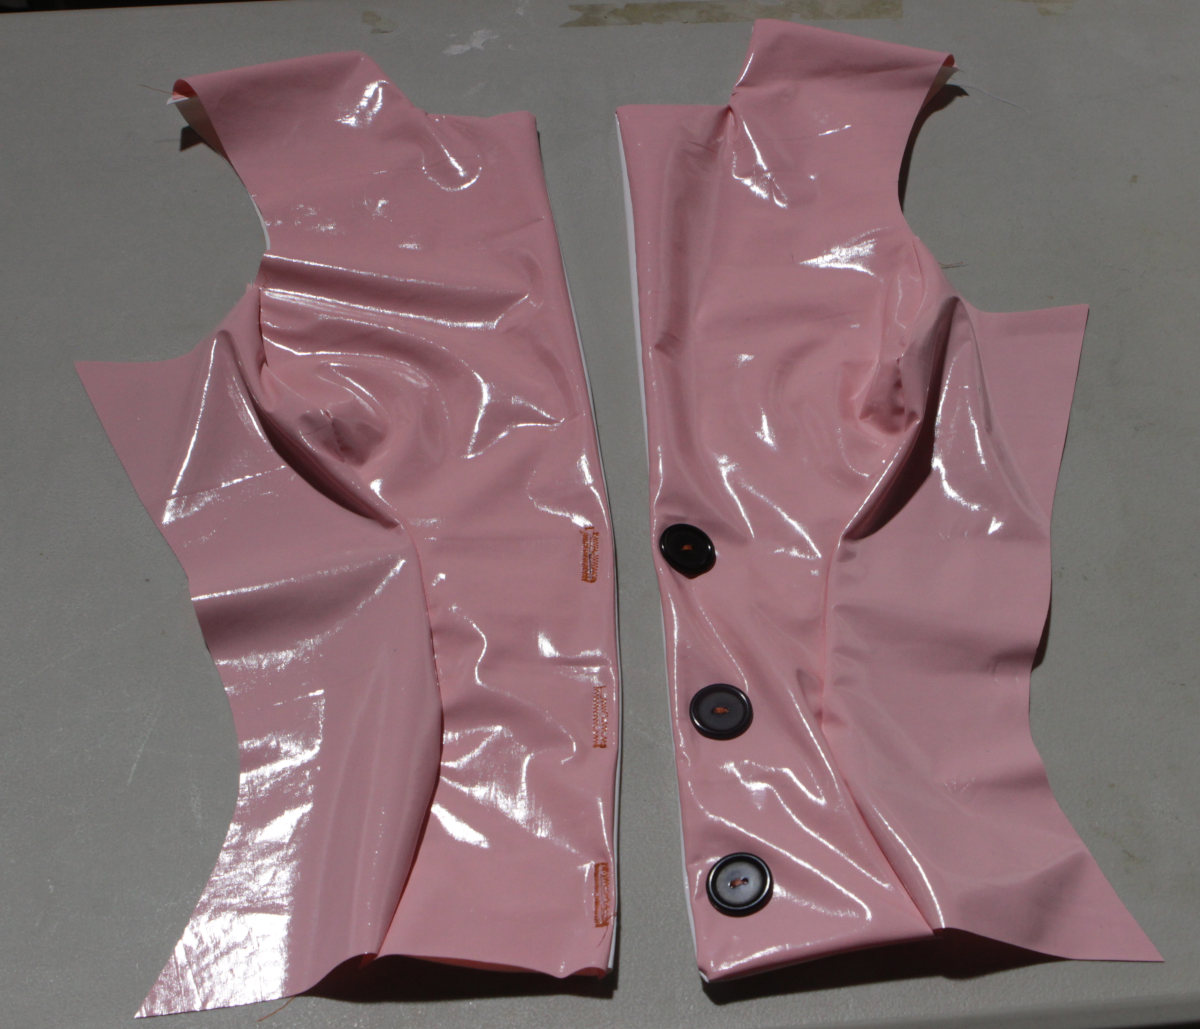
Cut 3 evenly space buttons holes on the left front section.

If using fabric, you can use a sewing machine to create the button holes per the size of button that you use.

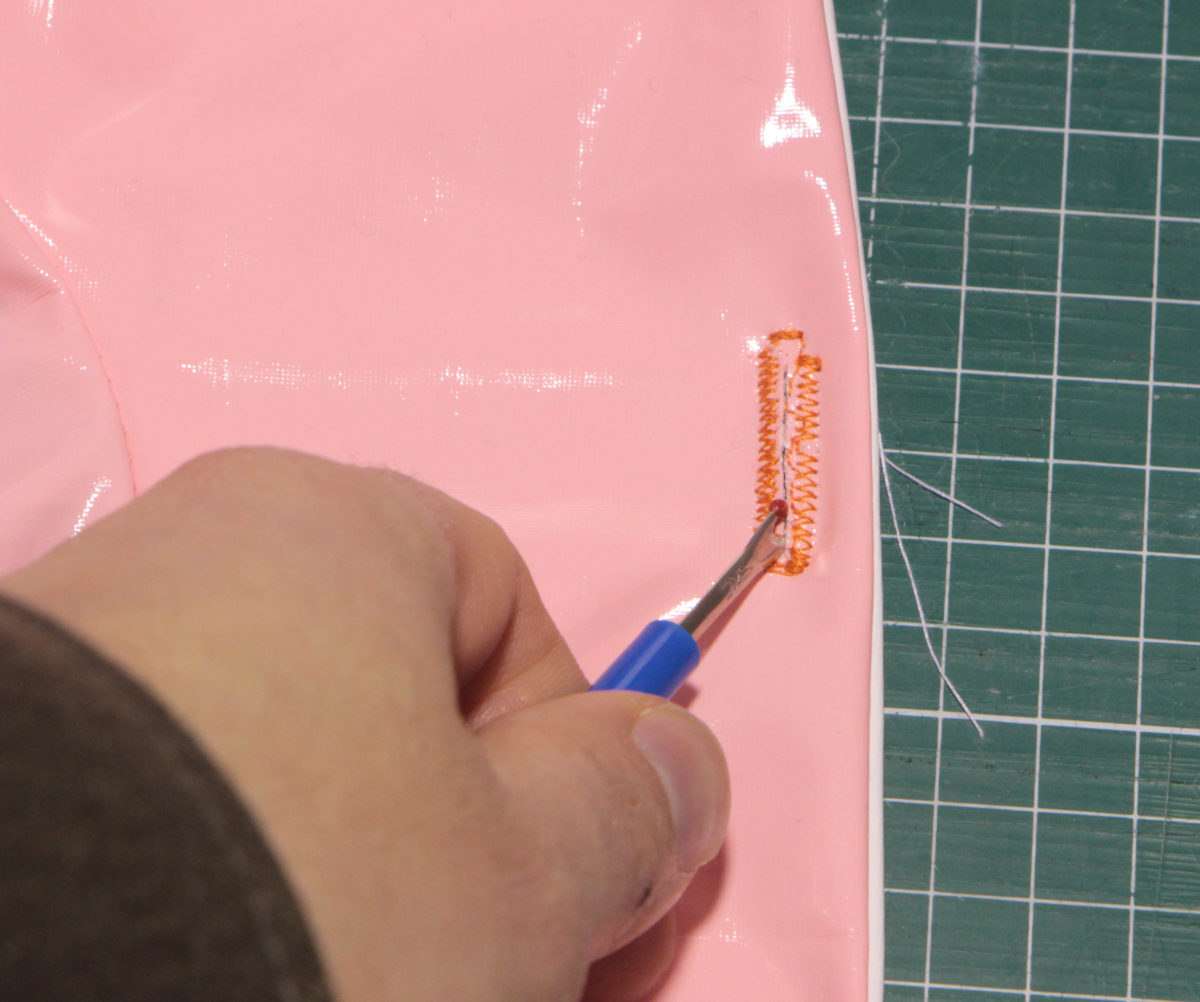
If using latex sheeting, use an 18mm rotary cutter to cut a narrow oval for the hole.  Use a scrape piece of material to cut reinforcement strips to glue behind the hole.  

Another option for latex is to glue buttons via super-glue or epoxy glue to the top right side of the front, and then glue snap tape to each side of the front sections to secure the top together.

Cut hole for button.
Completed buttons and holes.

Attach front to rear at shoulder

With right sides together, sew (or glue if using latex sheeting) the shoulder seams of the front and rear sections.

Sew front shoulder to rear shoulder.

Sleeves

If using fabric, either set your machine to the appropriate setting to gather the sleeves to match the sleeve hole length.  Or use a long straight stitches leaving 3-4 inches of thread at the end, and then gently pull the thread to gather the material, then tie off the thread ends once done.

The sleeve gathering should start approximately 3 inches from the edge, as you don't want to gather the part of the sleeve that will be under the arm.

If using latex, fold 1/4 of material onto itself at the edge of the sleeve where it will attach to the body, and glue it down to gather the material.

After the sleeve has been gathered, sew (or glue if using latex sheeting) the sleeve to the body.

Sleeves attached.

Attach the upper collar

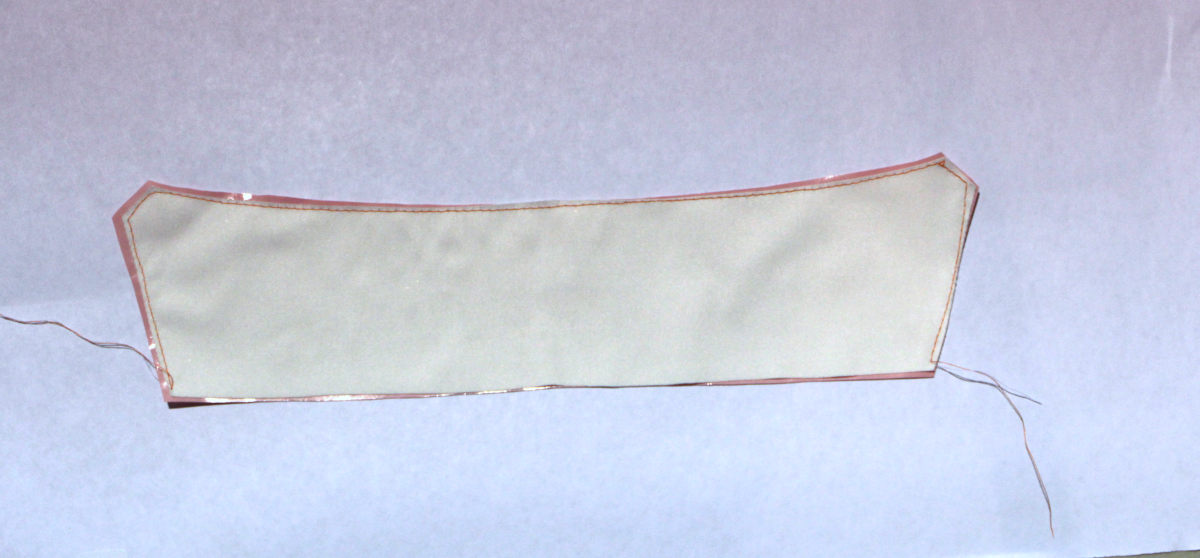
If using fabric, sew the collar facing to the collar (collar should be a contrasting color to the dress).

Sleeves attached.

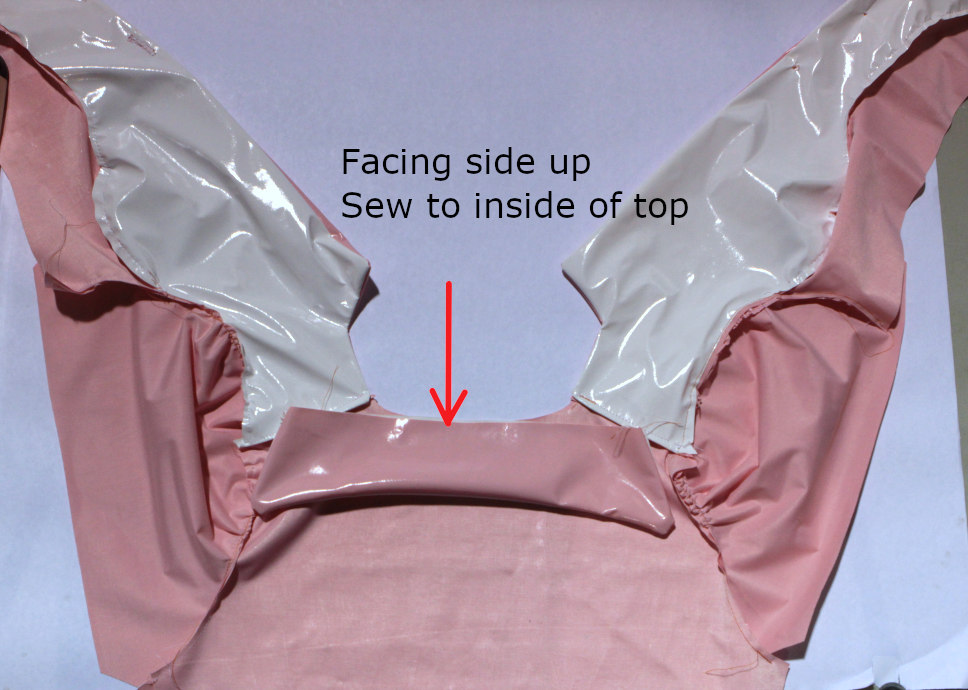
With the contrasting color of your upper collar facing the inside of the top, pin the collar to the top.

Sew  (or glue if using latex sheeting) the collar to the front and rear sections.

Facing and contrasting color for upper collar sewn together.

Attach bottom of dress

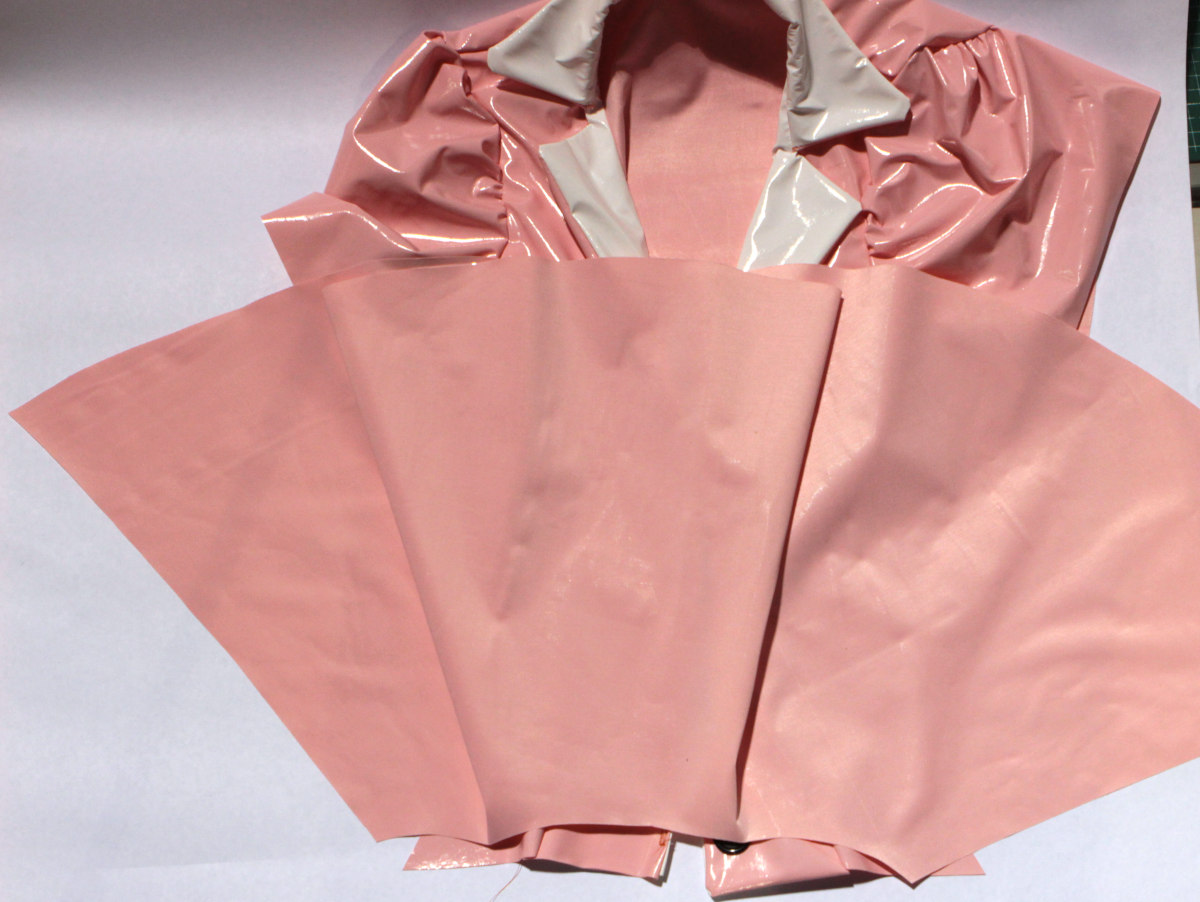
Sew (or glue if using latex sheeting) the bottom front section to the front.

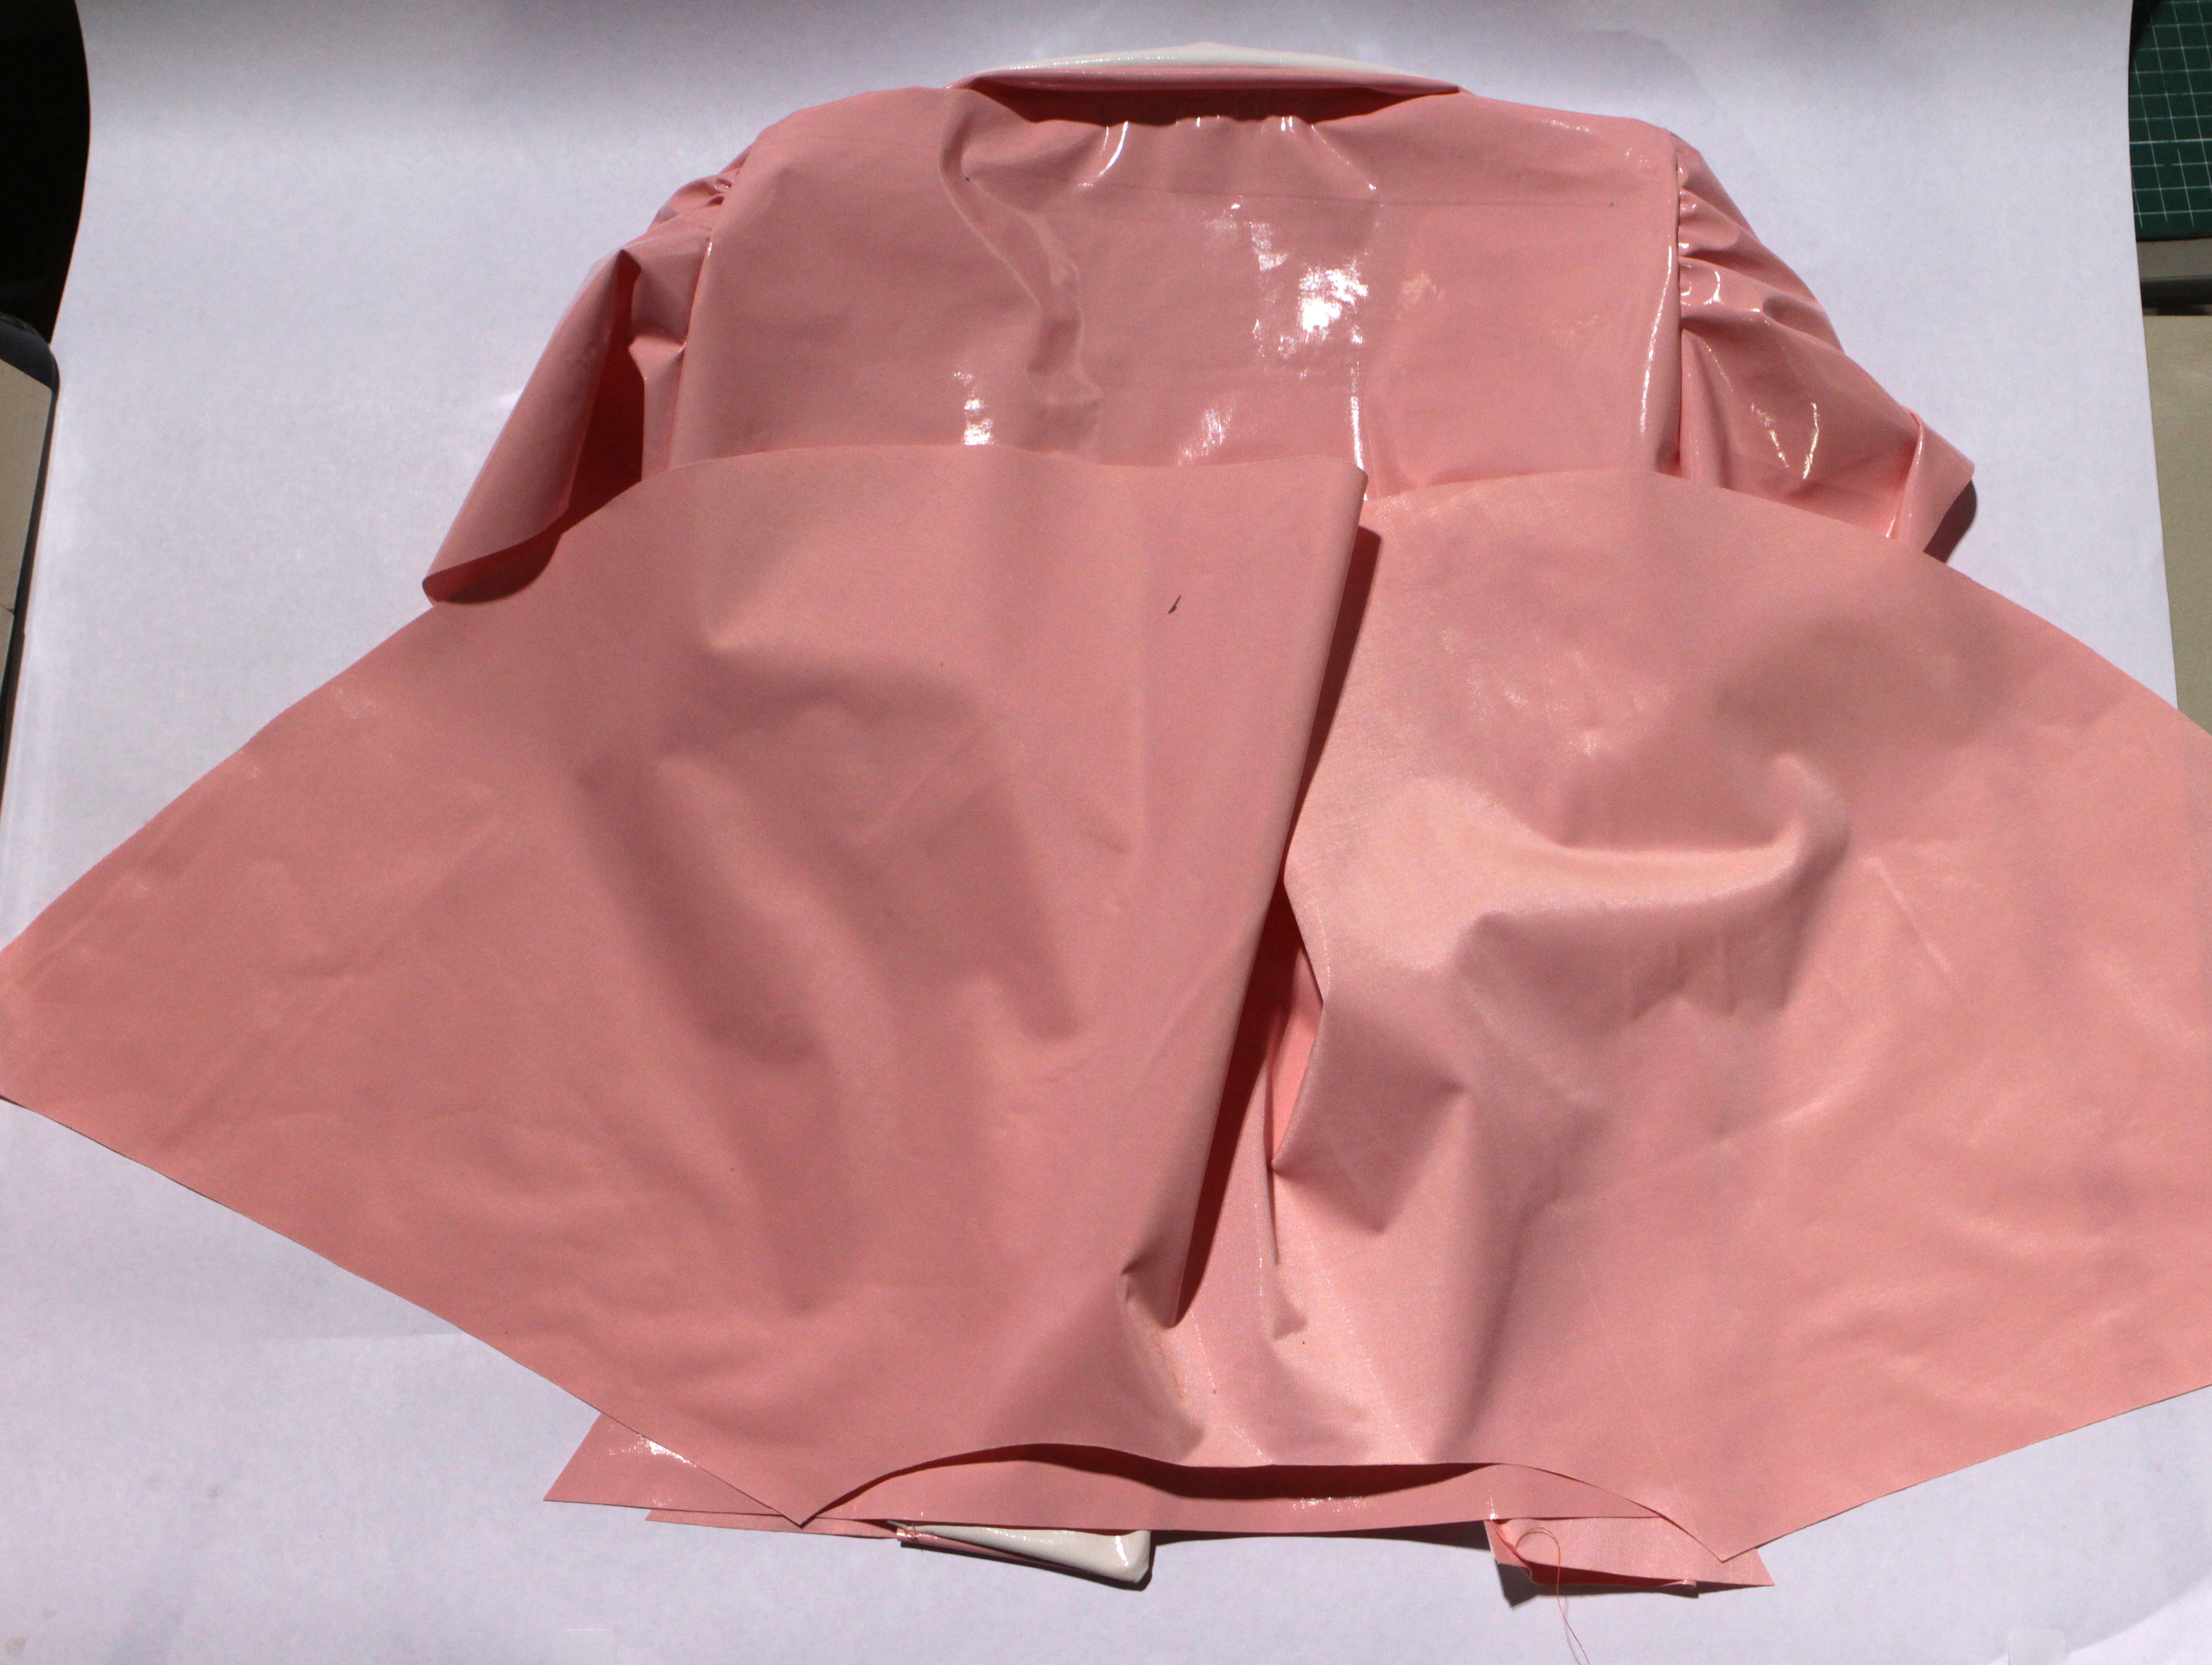
Sew (or glue if using latex sheeting) the bottom rear section to the rear.

Sew bottom front section to dress front with right-sides together.
Sew bottom rear section to dress rear with right-sides together.

Sew apron

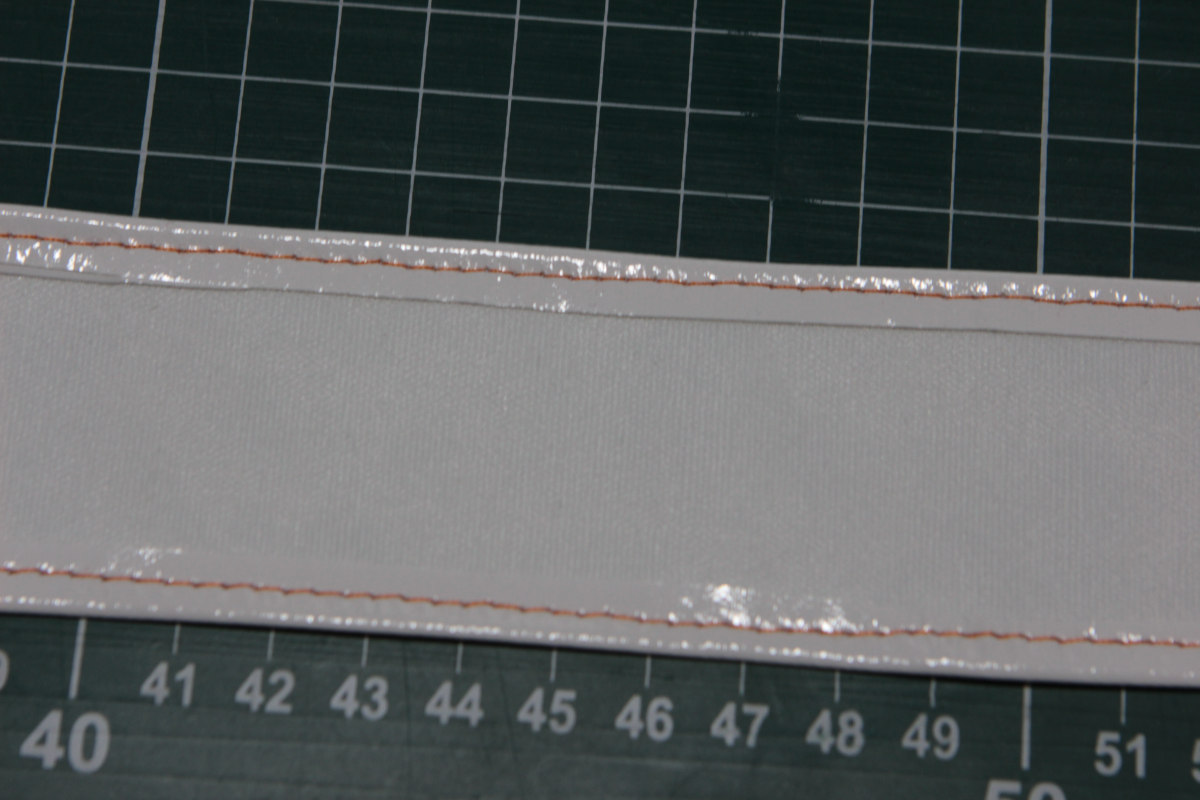
Fold over the edges of the apron waistband by 1/4 inch and stitch.

Finish the edges of the apron waistband

Stitch the ditch (stitch in the grooves of the previous stitch) to attach the apron to the apron waistband.

Sew sides of dress

Starting at the sleeve and working your way down, sew the front of the dress to the rear of the dress

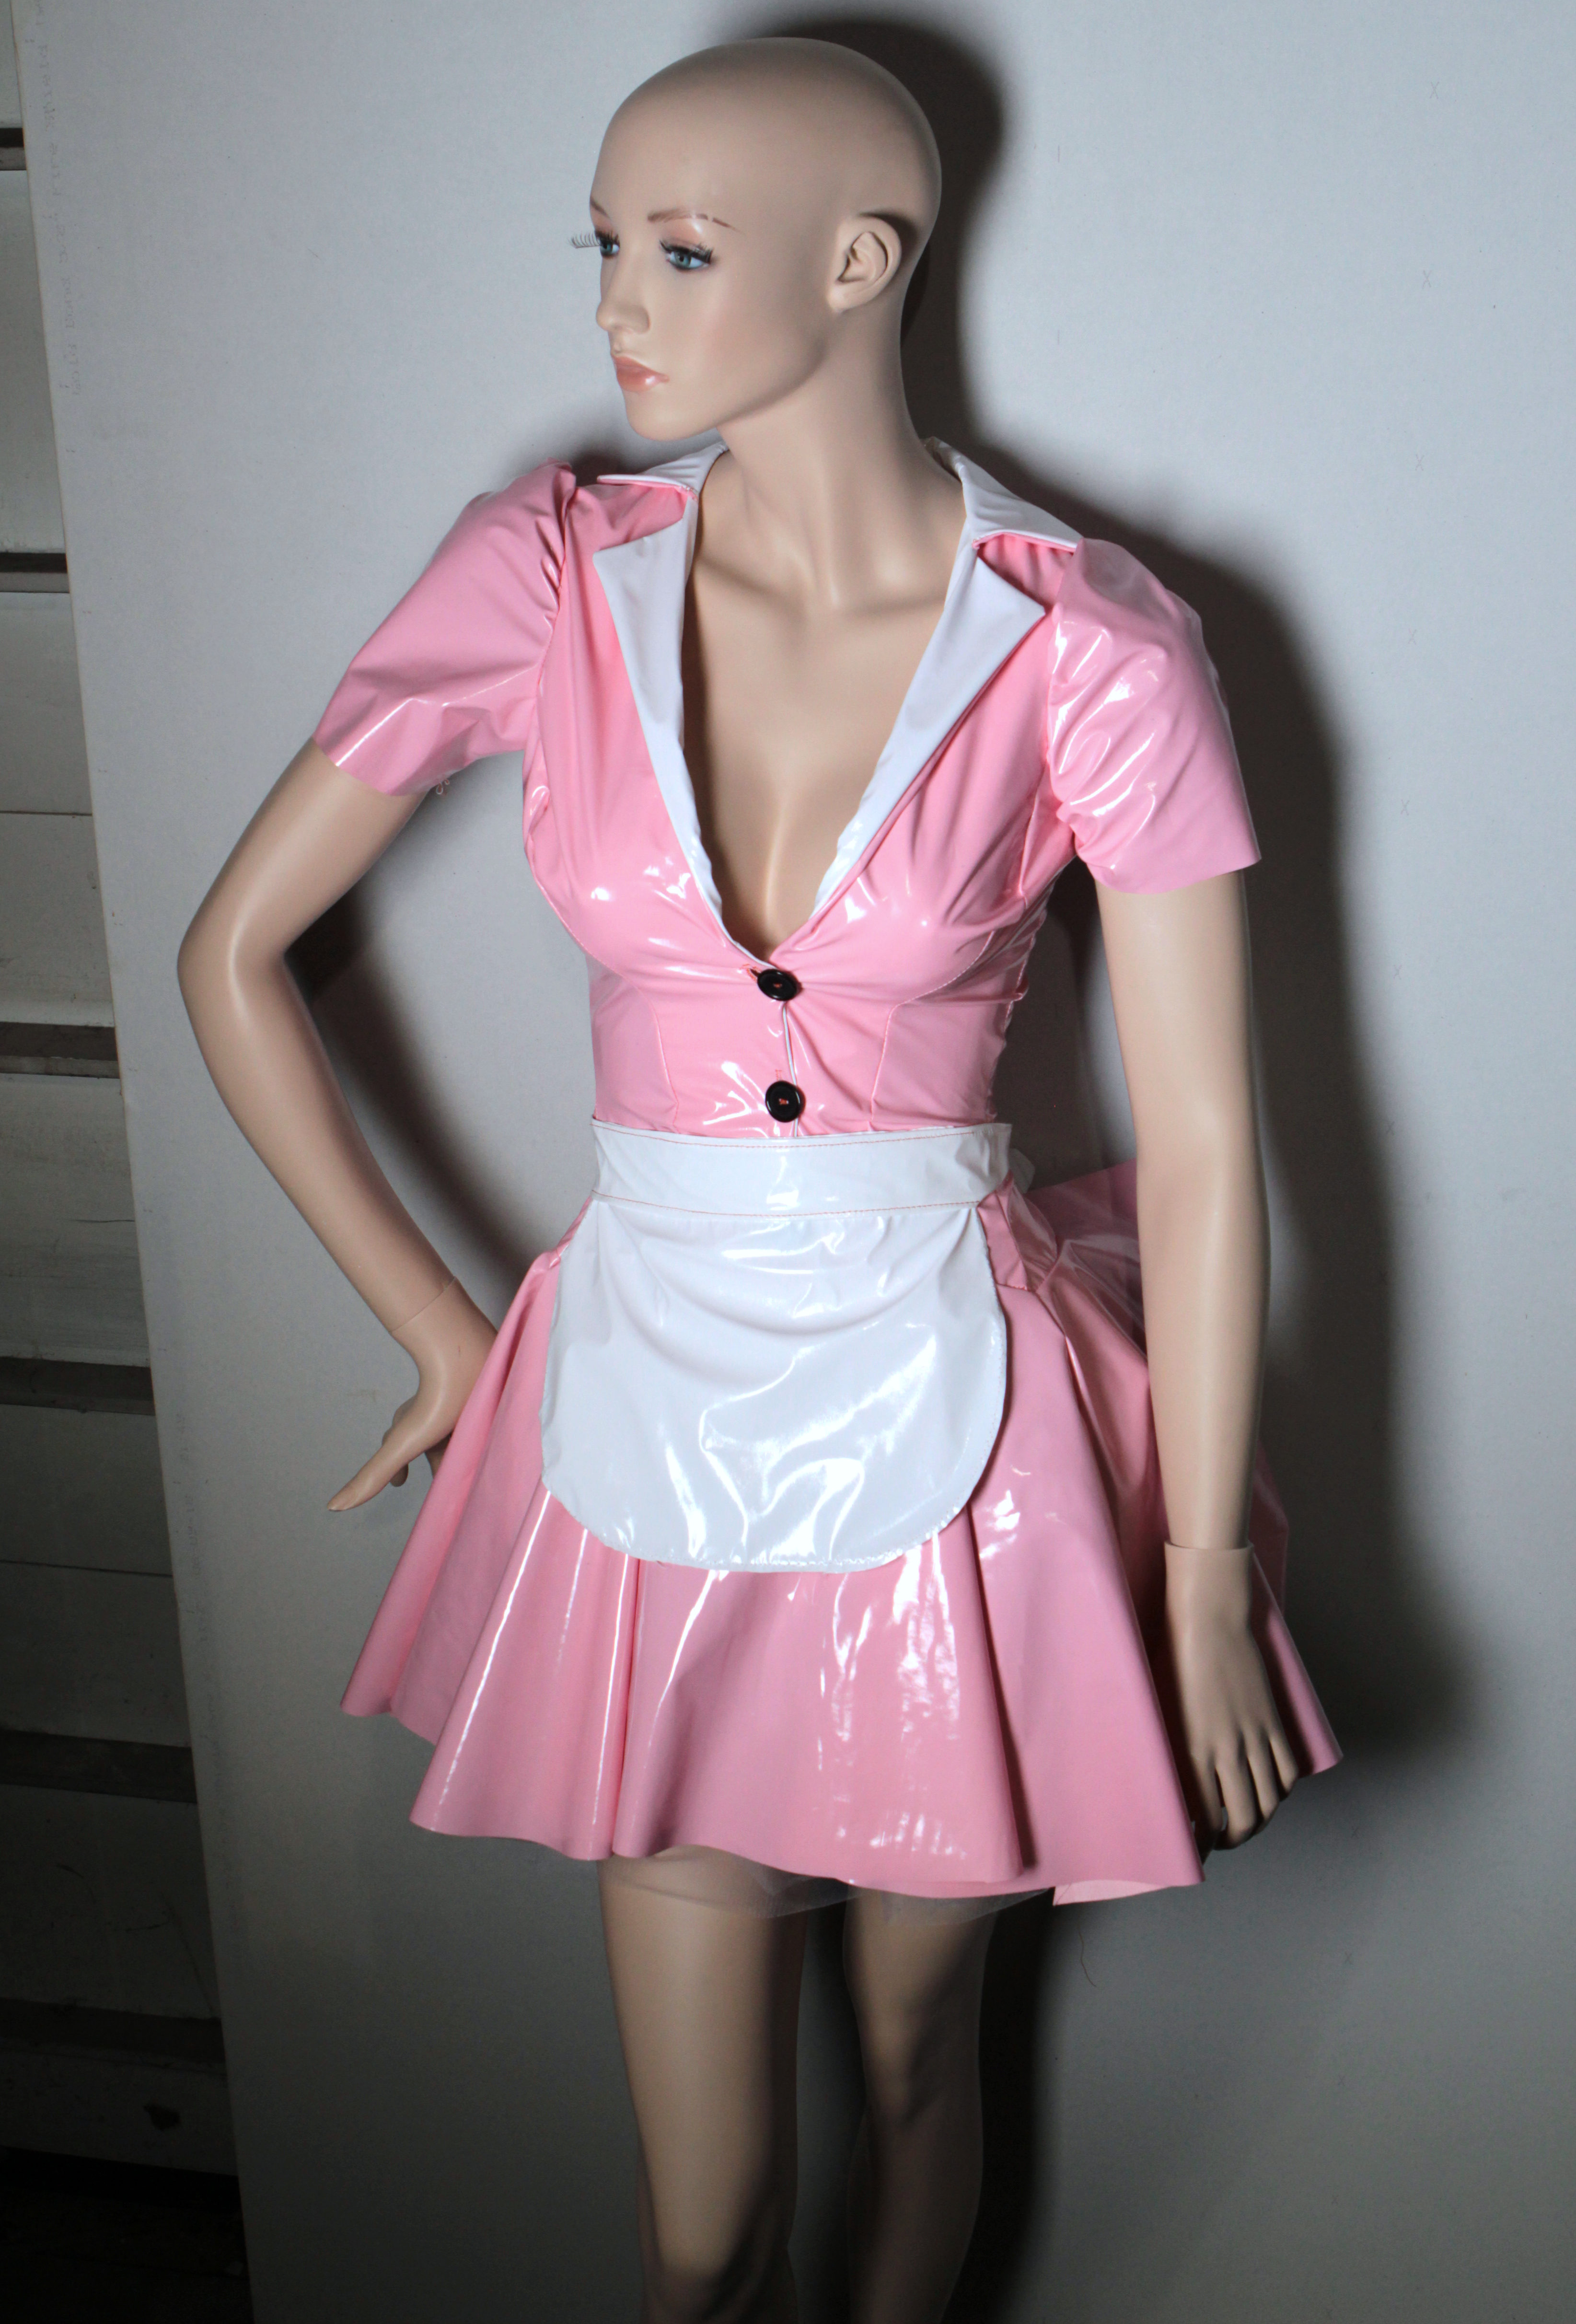
Grab some fries and burgers and get to work!

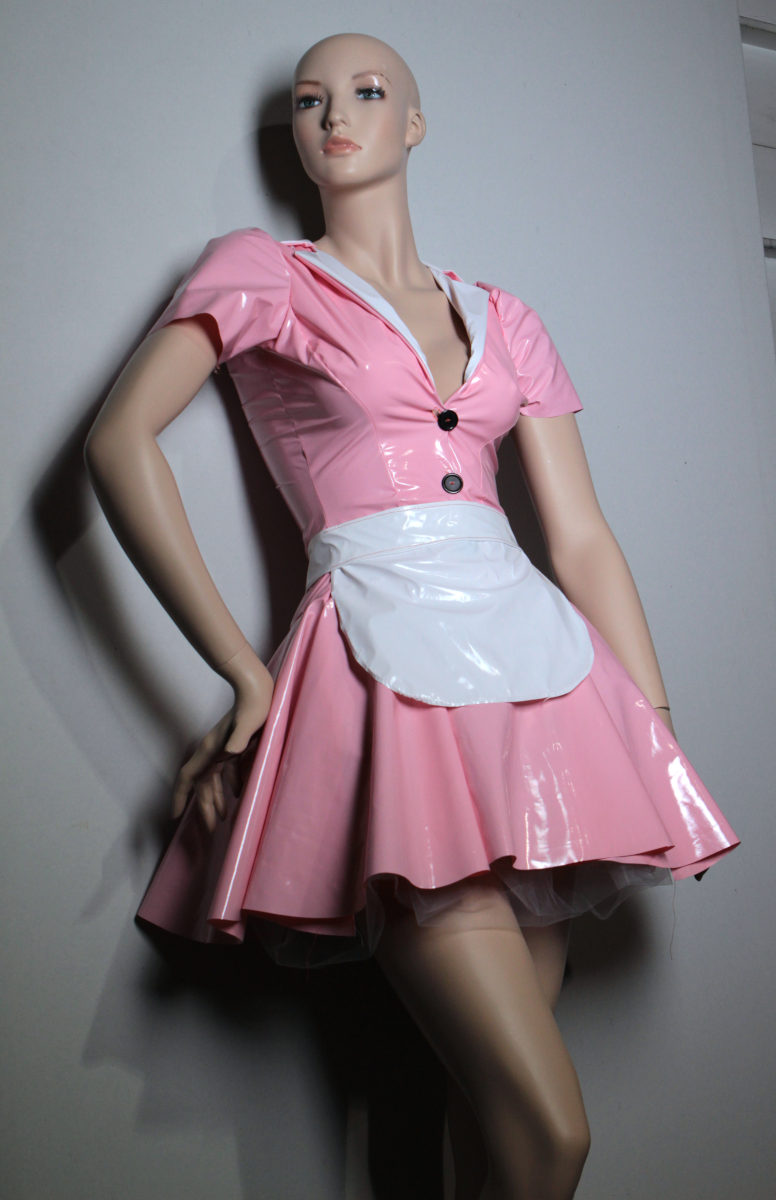
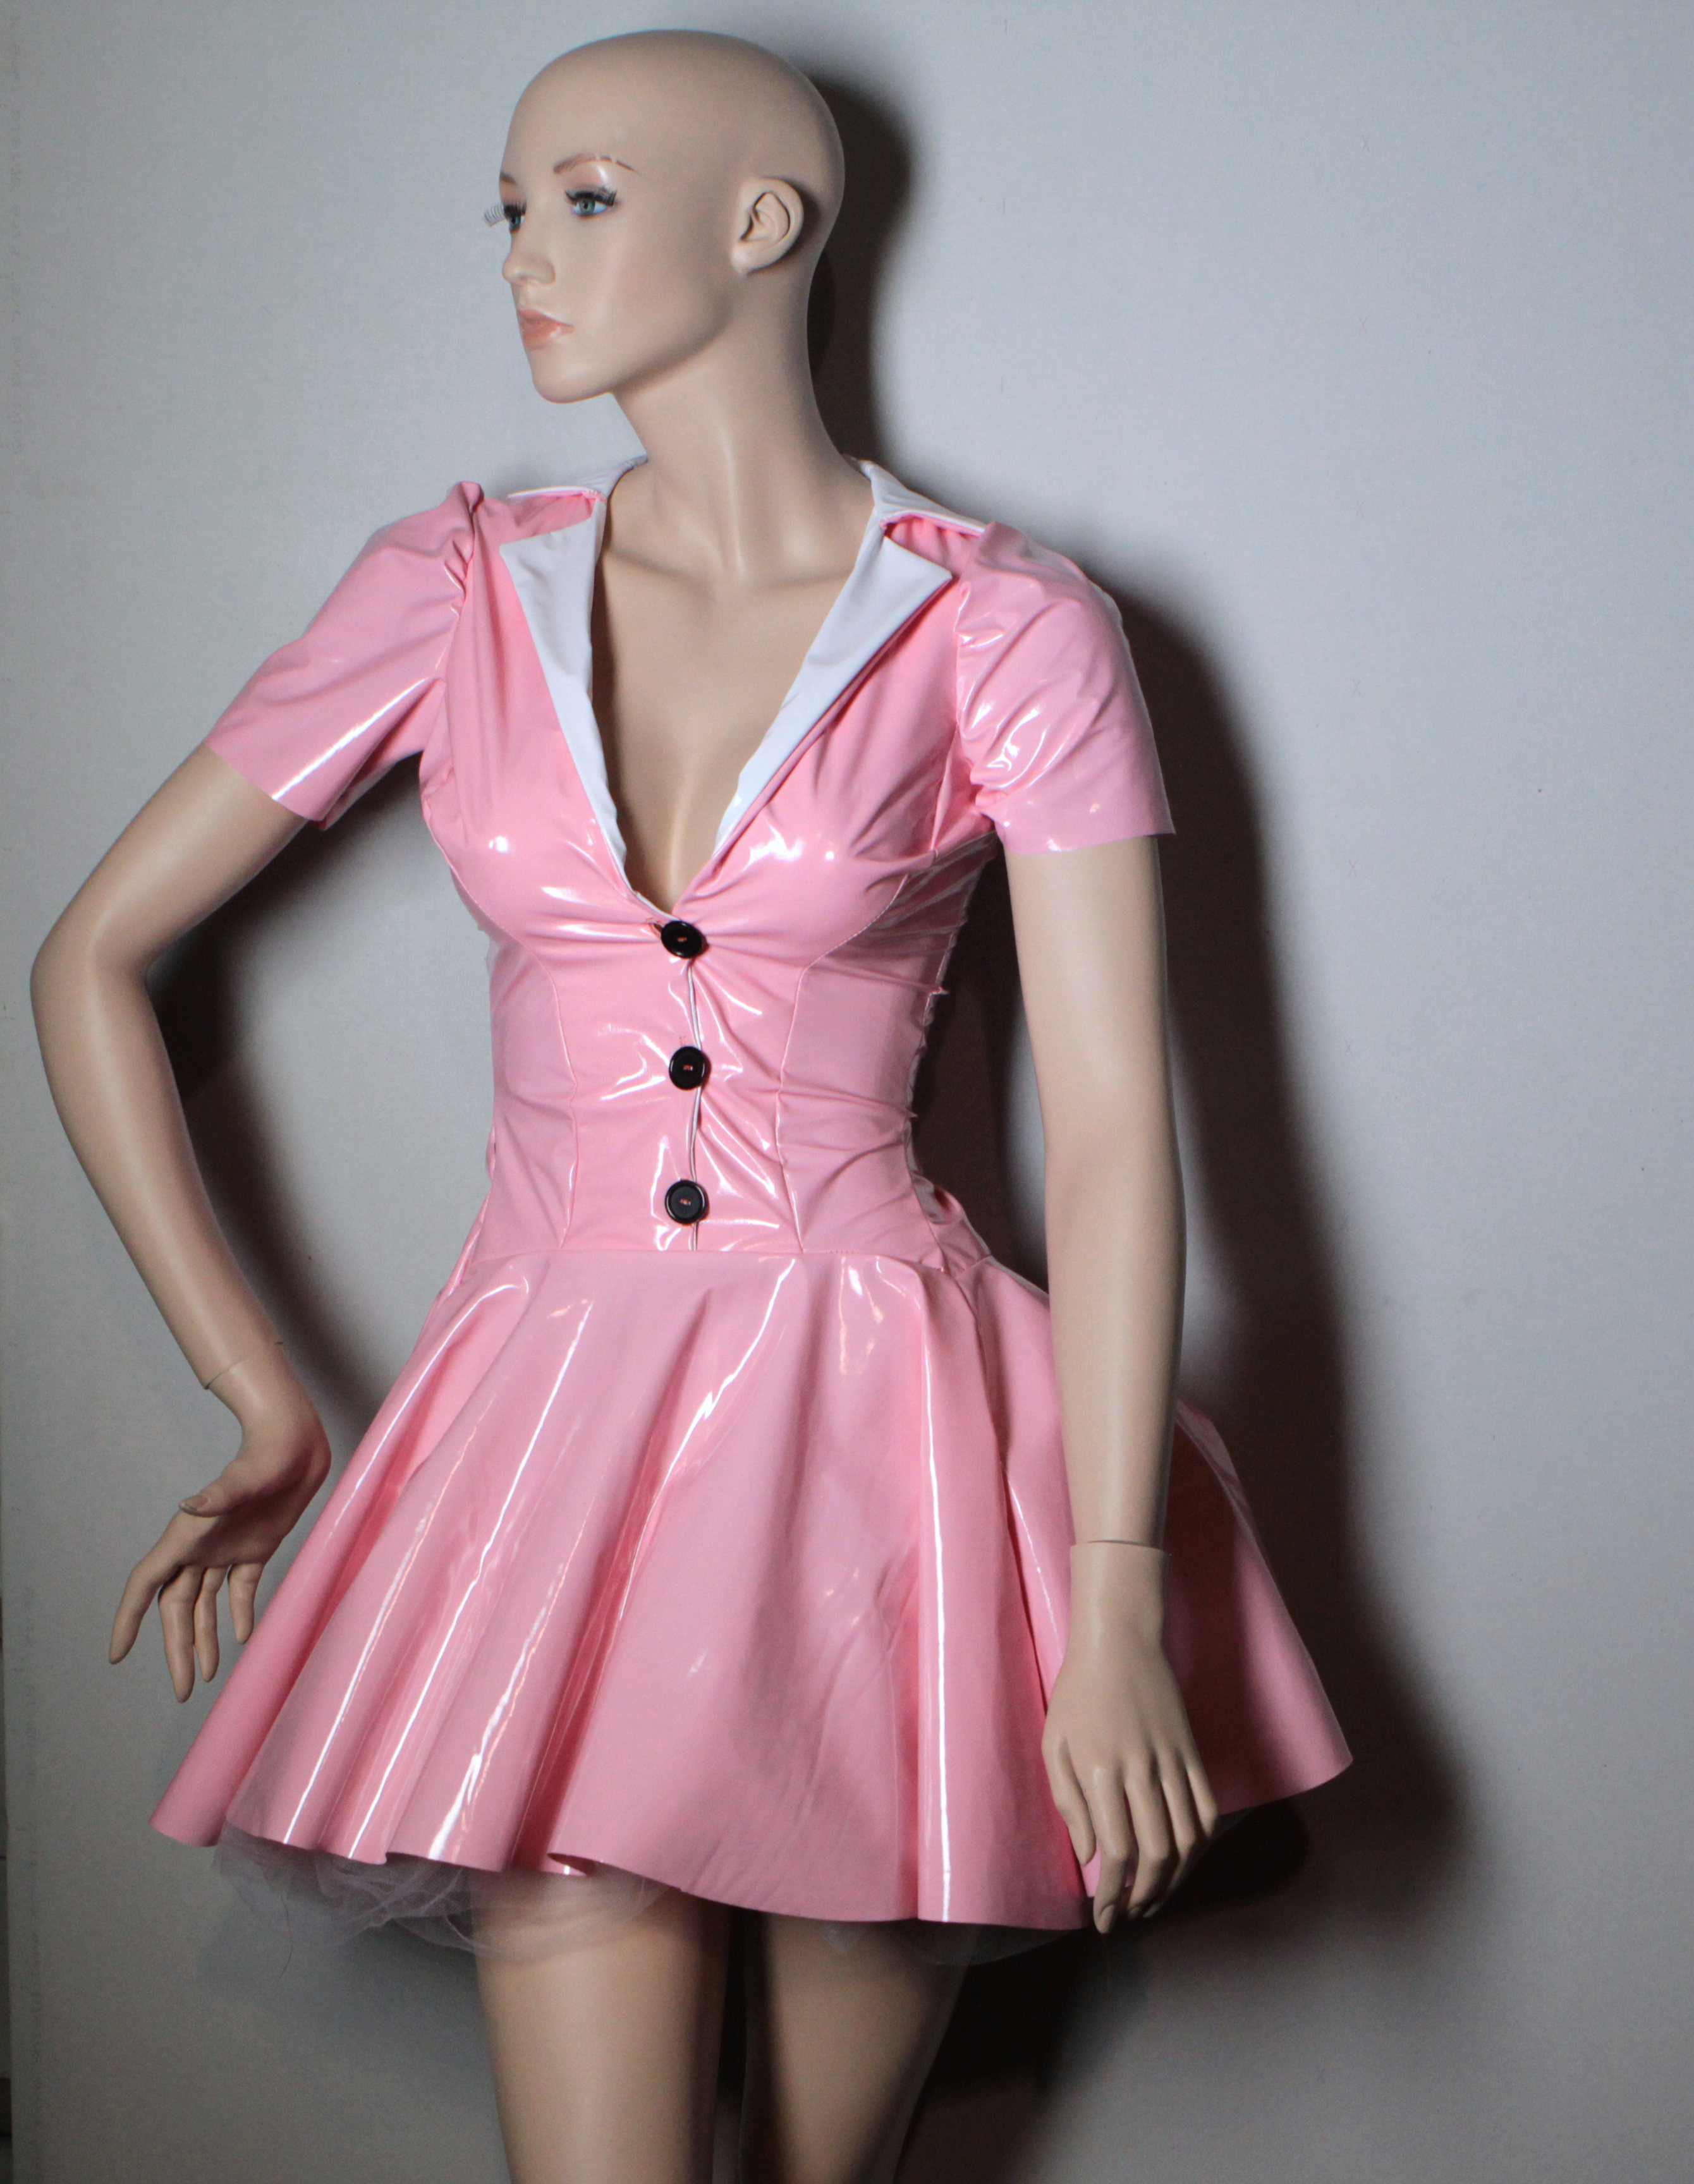
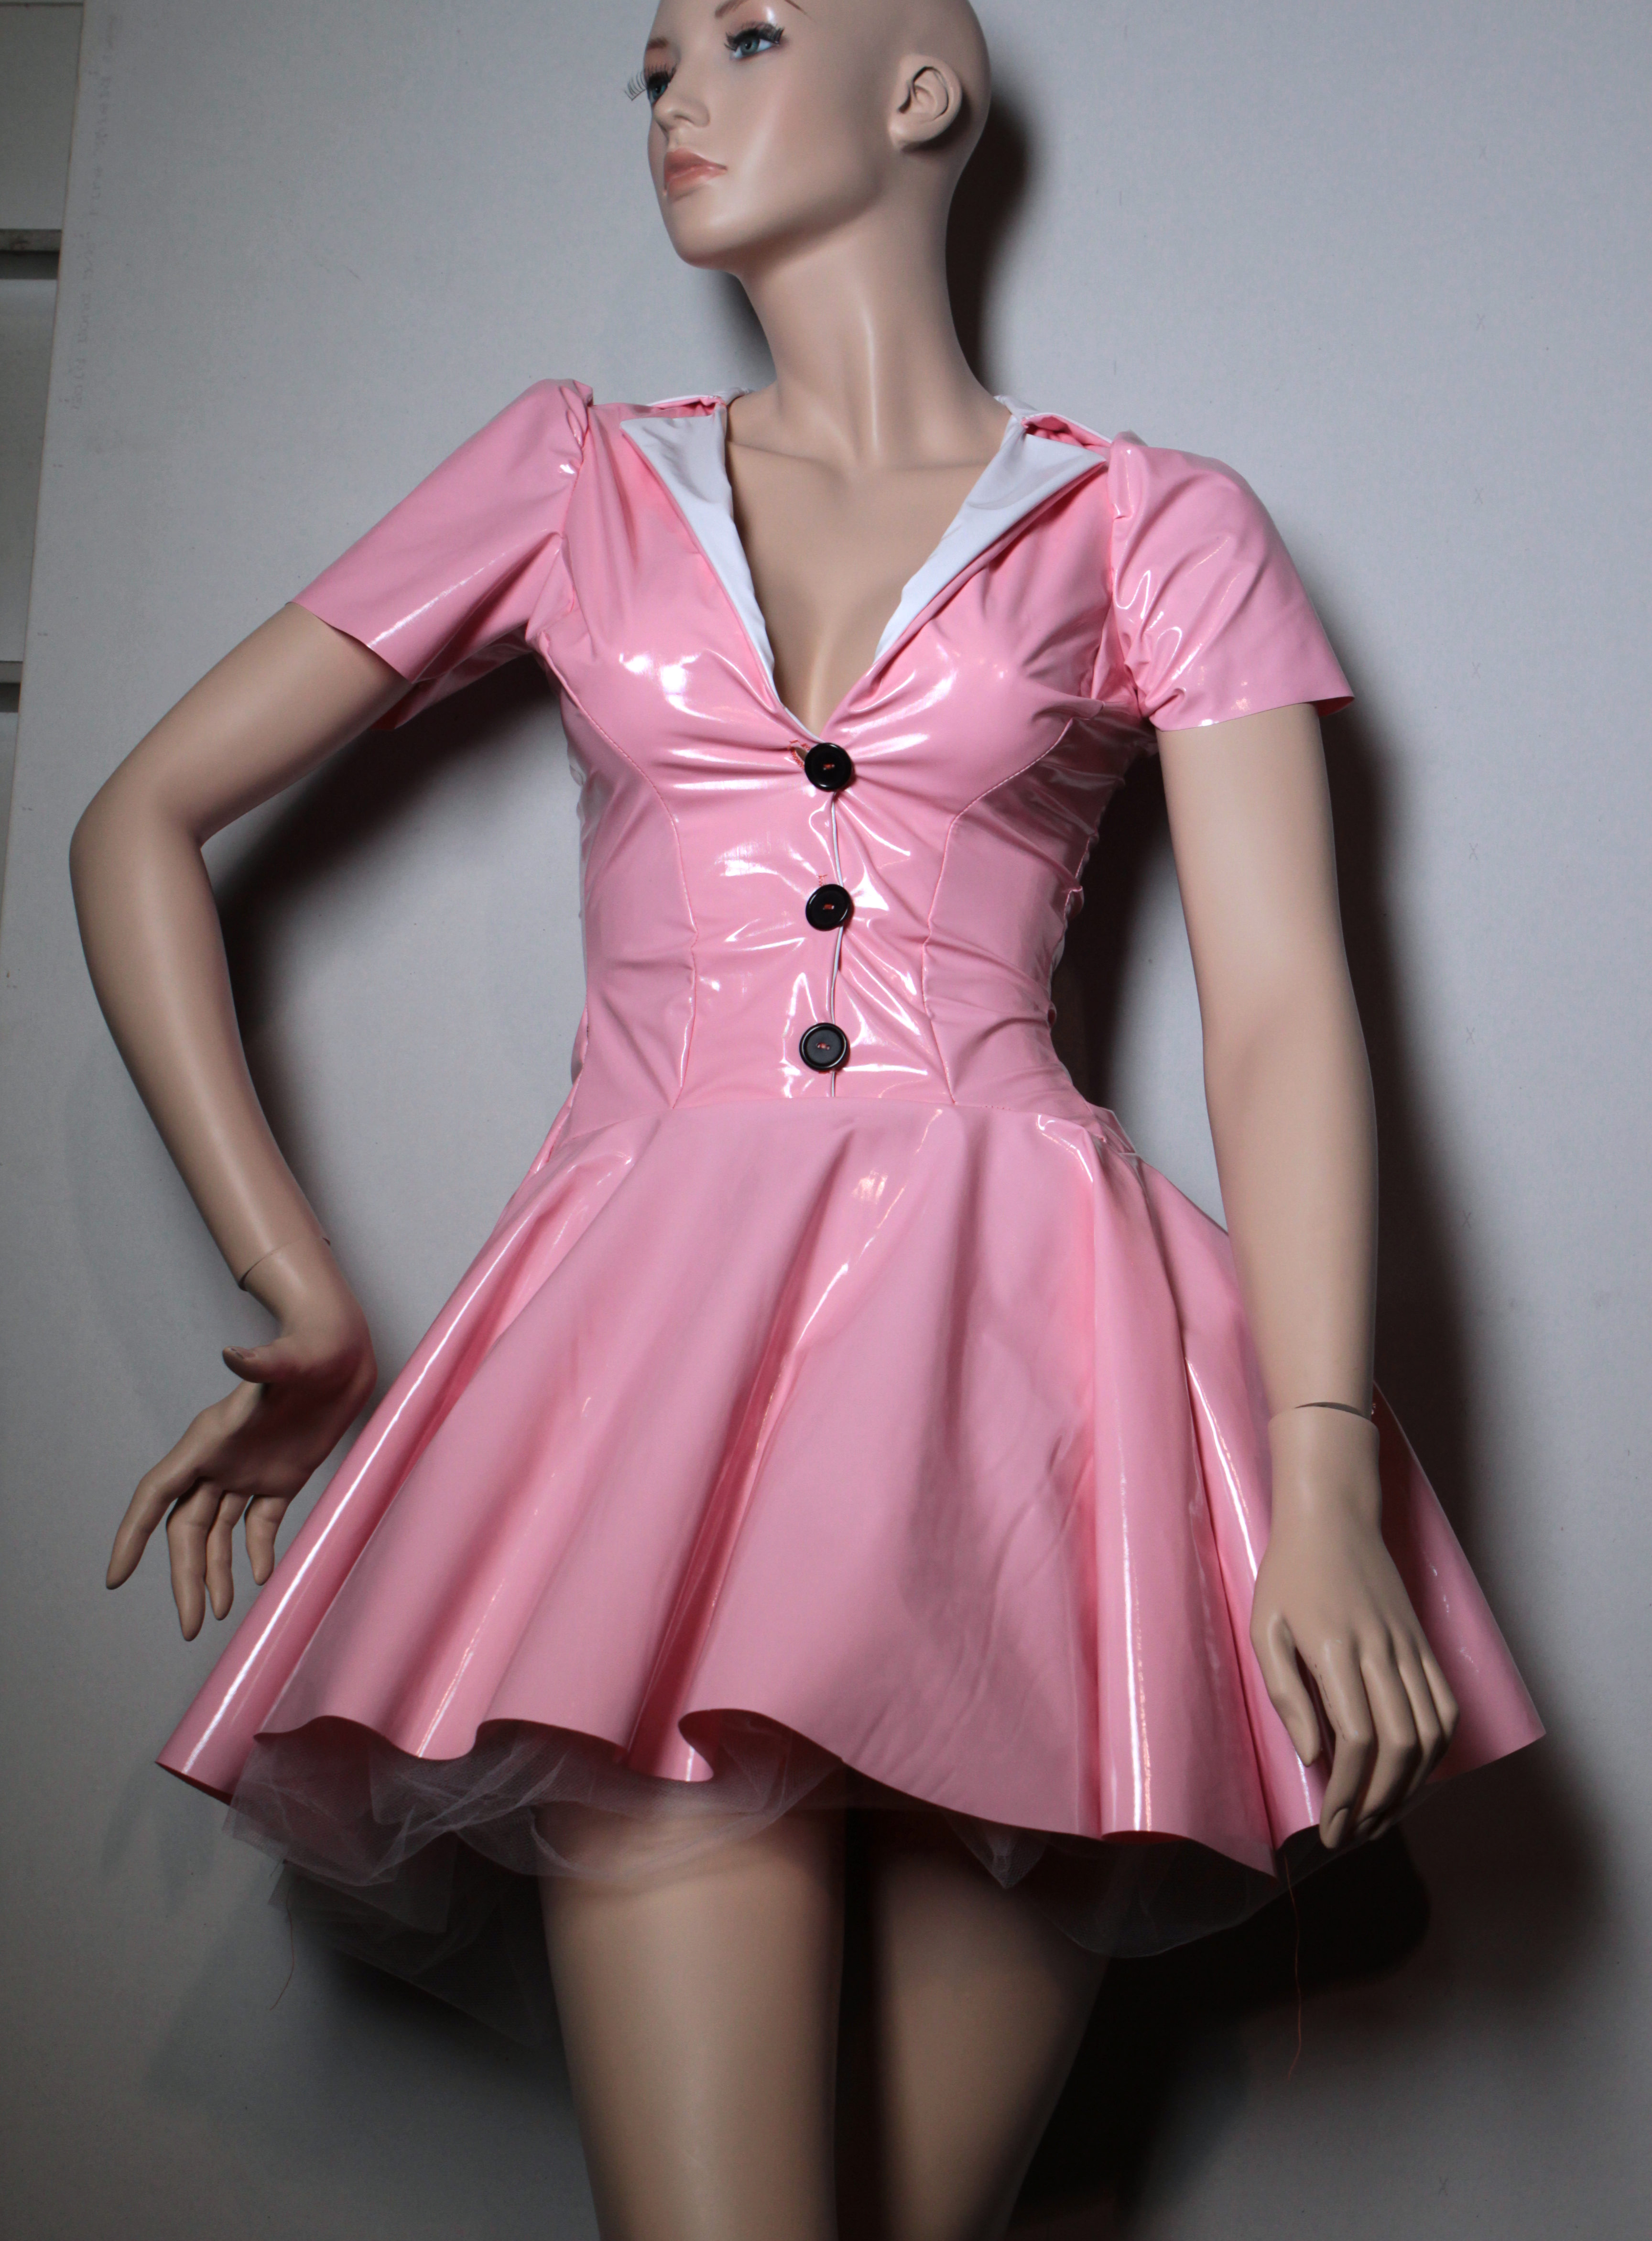
Try on your new custom-fit waitress dress and enjoy.

Finished dress.
Sew bottom rear section to dress rear with right-sides together.
Finished waitress dress without apron.

Do you have an article, tip, or trick that you would like to share? Send us an email at: sales@mjtrends.com so that we can include it in future articles.