

When it comes to fashion, certain rules are made to be broken. Treat snakeskin print like a neutral by revamping a well-worn phone case. Blogger behind “My Darling Pencil Skirt” created a simple tutorial to craft one of your own. Ideally, this tutorial will work best with a serger machine, but you could also take the time to sew it by hand.
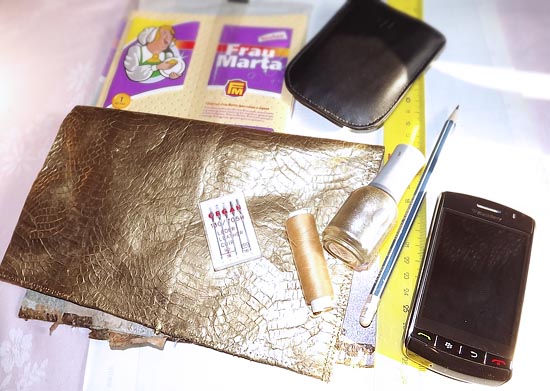
- Assemble your materials: snakeskin print fabric, scissors, a glue stick and a pen.
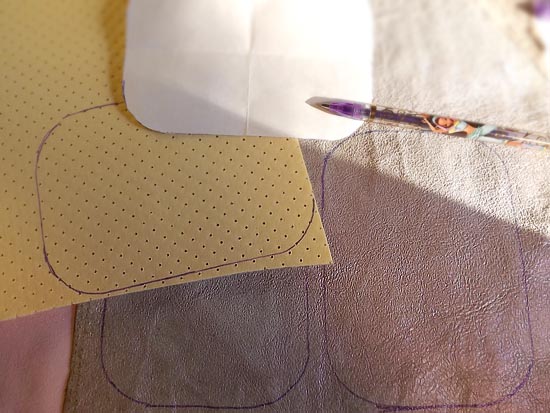
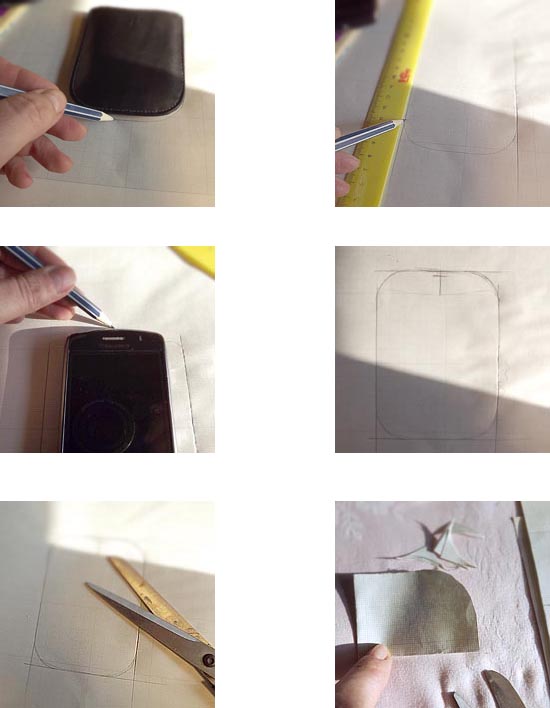
- First, trace an outline of her phone onto the opposite side of the fabric.
- Using a pair of scissors, carefully cut out two pieces that were identical in size.
- After that, cut out a small piece of fabric used to line the bottom of the case.
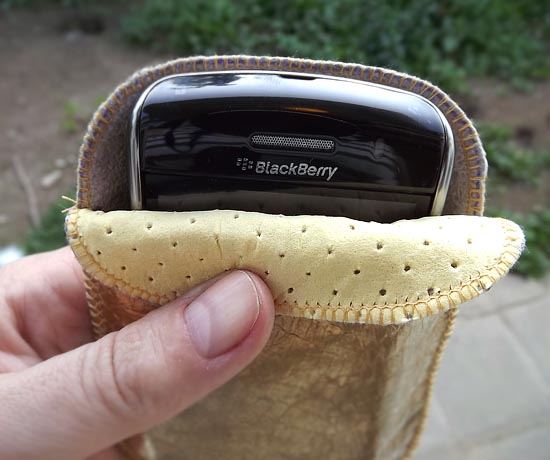
- Next, use a sewing machine to merge them together at the bottom and sealed the deal with a little glue.
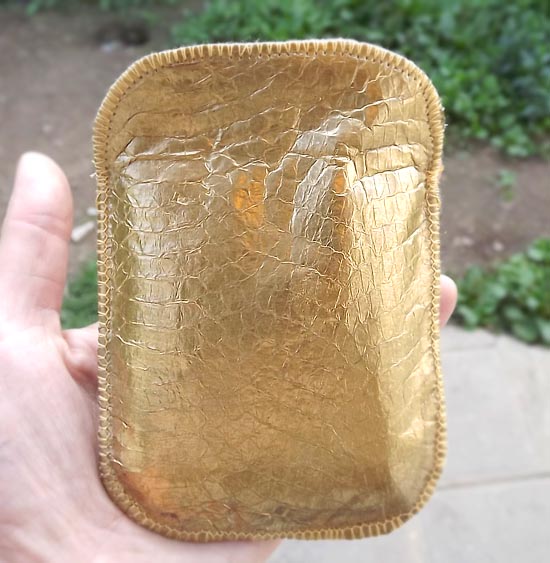
- The last step uses the sewing machine to finish the edges along the exterior.
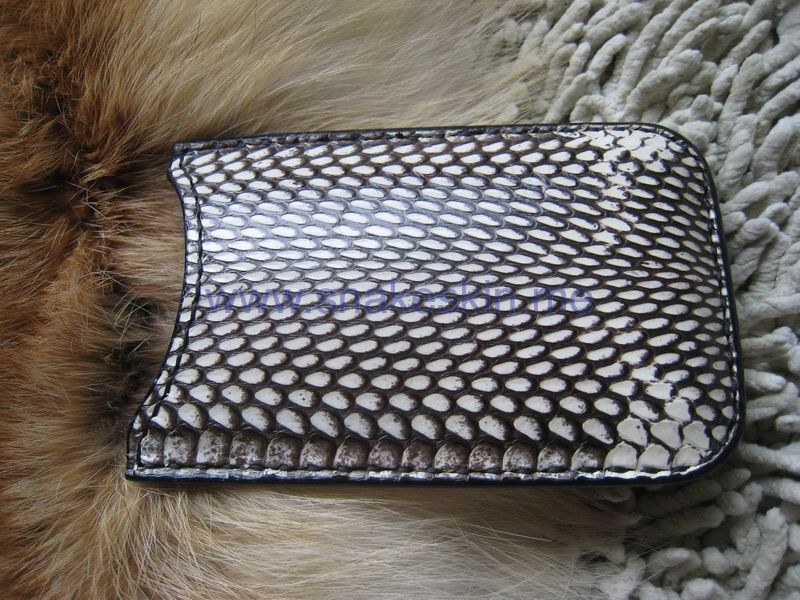
The finished product looks polished and cool, perfect for running meetings or running errands. Use this tutorial as a basic template, and add your own twist by mixing two or three different colors for added contrast. With glitzy new phone models coming out every few months, it makes it even harder to find the perfect case. This time, you won’t have to break the bank, just simply follow this tutorial and add serious edge to a basic phone case by creating a DIY version of your own.
Written by Jade Nicolette

Matching Products:
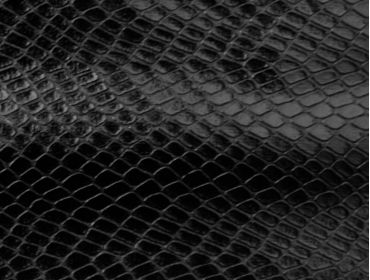
Black Snakeskin
$11.99
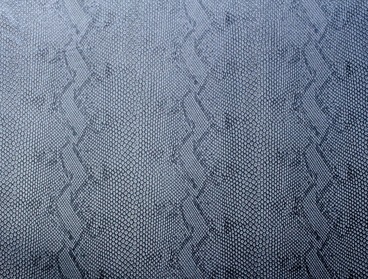
Stretch Silver Blue Snakeskin
$11.99
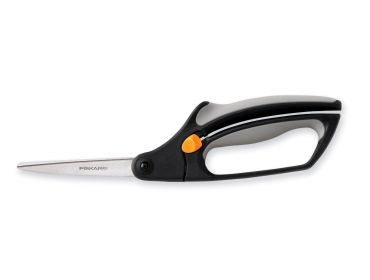
Fiskars spring action Scissors
$9.76


The blogger’s approach seems beginner-friendly, but I wonder if thicker faux snakeskin fabric would require different needles or settings.
Using a glue stick to secure before sewing is clever, especially for slippery fabrics like snakeskin prints that can shift while stitching.
Using a sewing machine to finish the edges really elevates the look compared to glued-only DIY cases I’ve seen before.
It’s nice that the tutorial balances simplicity with a polished end result, since many DIY cases end up looking obviously homemade.
I hadn’t thought of snakeskin as a neutral before, but seeing it framed that way makes it easier to incorporate into everyday accessories.
The minimal materials list makes this approachable, especially since most people already have scissors, a pen, and some kind of adhesive at home.
Cutting a separate small piece to line the bottom seems like a smart way to reinforce the area that usually wears out first.
I like that the finished case is described as appropriate for both errands and meetings, since snakeskin can sometimes lean too bold for work settings.
Mixing two or three snakeskin colors for contrast sounds fun, though I’d be curious how busy it looks in practice on a small surface.
I wonder how well this holds up over time, particularly at the seams where the phone slides in and out frequently.
I’m intrigued by the idea of revamping an old case instead of starting from scratch; it feels more sustainable and less wasteful.
Adding your own twist with color combinations is probably where this project gets really personal, rather than just copying the exact look.
This seems like a great way to experiment with prints without committing to a larger accessory, since a phone case is easy to swap out.
The mention of sealing with a bit of glue before finishing the edges makes sense for durability, especially if the case gets a lot of use.
The step about tracing the phone on the wrong side of the fabric is such a small detail but really matters for keeping the print clean on the outside.
This feels like a practical alternative to constantly buying new cases when phone models change so often, especially with how polished the final result looks.
I appreciate that you mentioned hand sewing as an option since not everyone has a serger, even if it takes more patience.
I like the idea of treating snakeskin as a neutral here; it makes the case feel versatile instead of flashy, especially for something you’ll carry into both meetings and errands.
The tutorial seems simple enough, but I imagine getting two identical pieces cut perfectly could be trickier than it sounds.