0
There no items in your cart.
Checkout
MJTRENDS

Step 1: Gather materials

Gather your materials:

  1. Leather or faux leather fabric
  2. 24 to 28 1/4 inch eyelets
  3. Cording to lace up armbinder (total length of arm brace x 8).
  4. Thread

** Note that the pattern is designed for a left-armed brace.  If you would like a right-armed brace, you will need to flip over all the sections when cutting out your material and reverse the directions as necessary. **

Step 2: Sew top arm to bottom arm

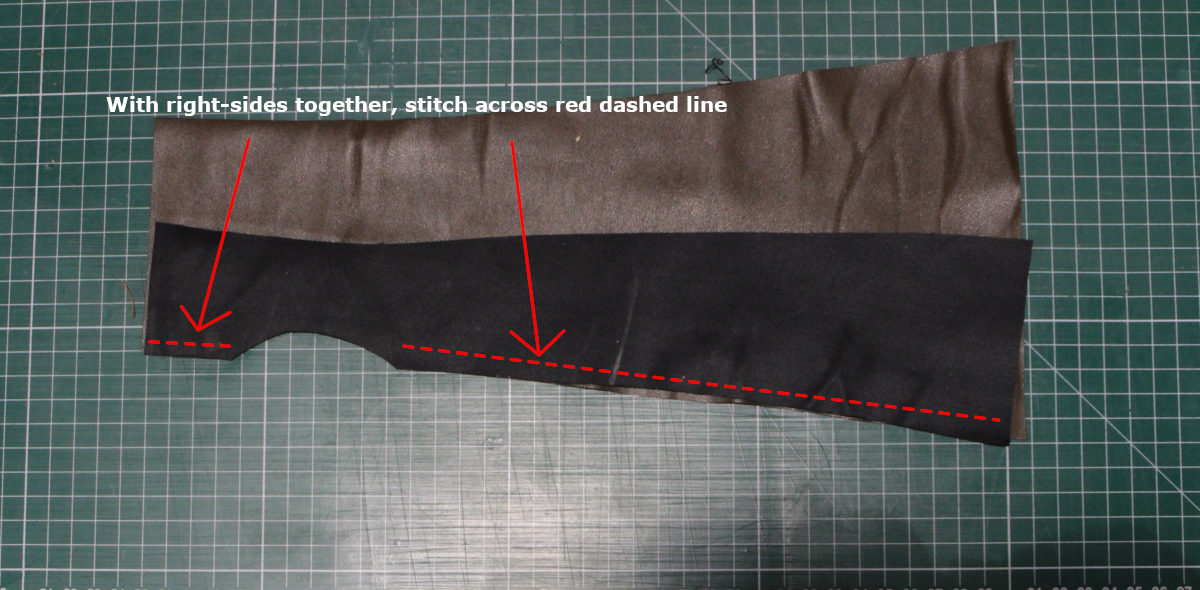
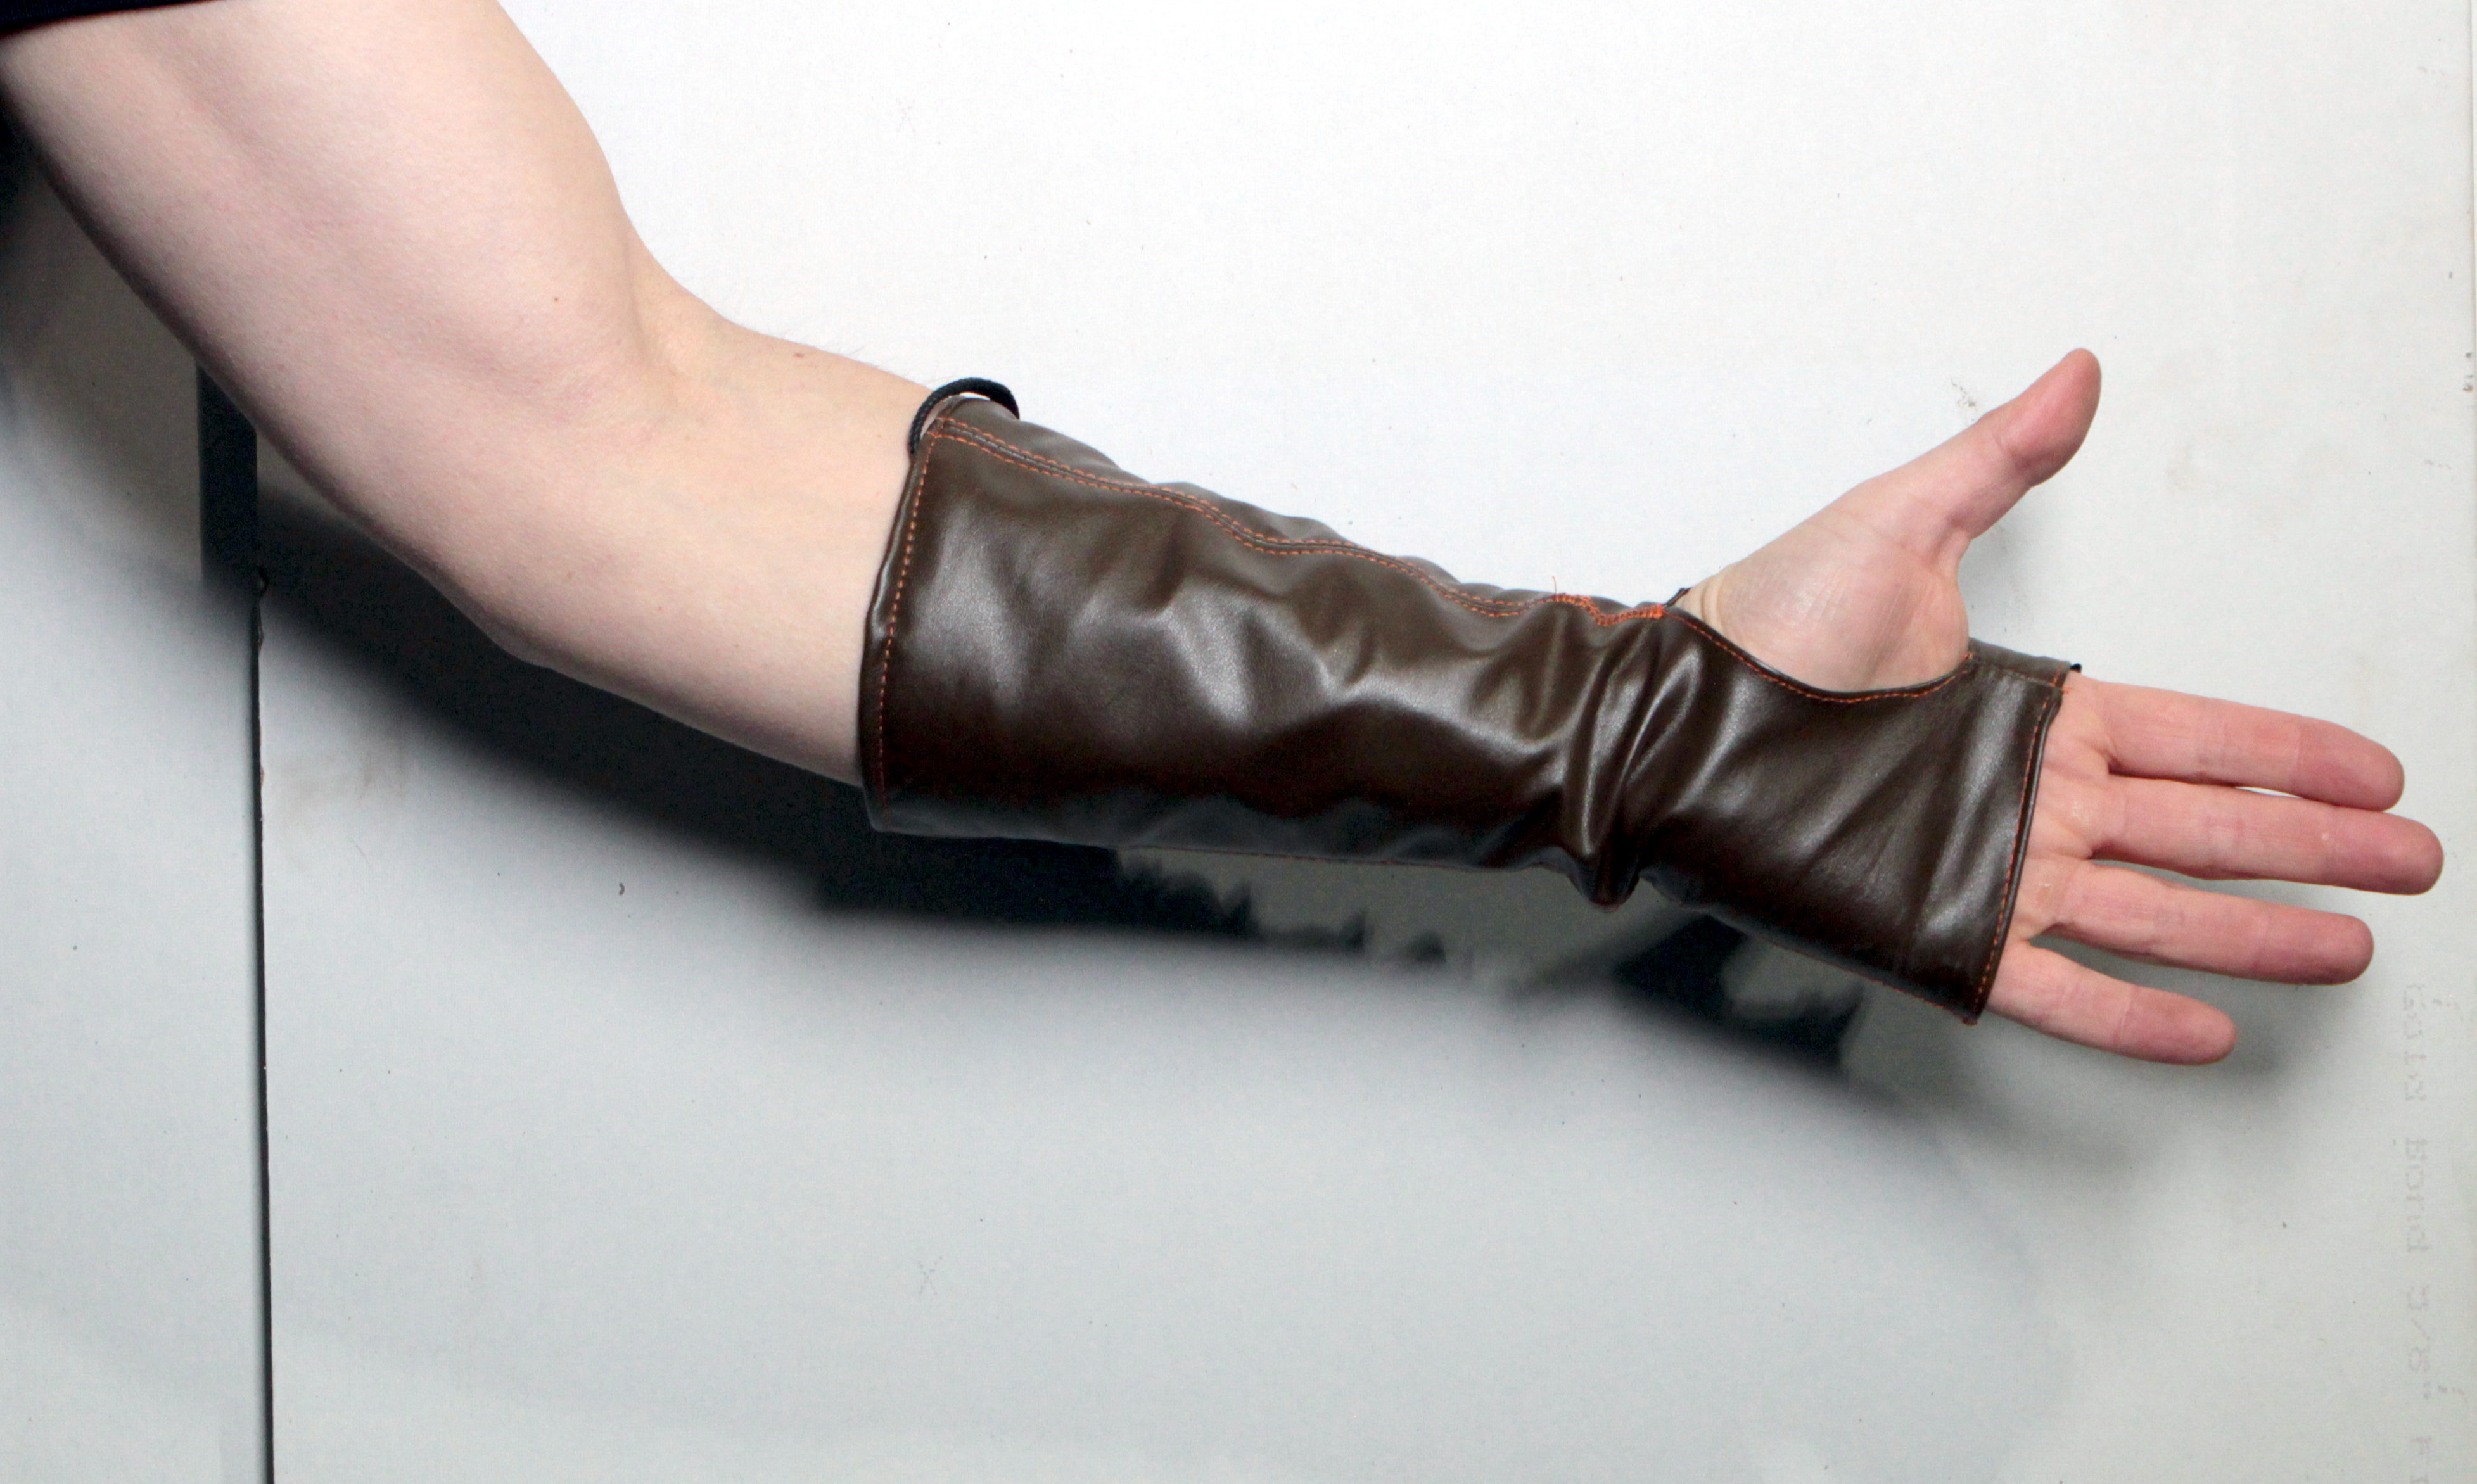
With right-sides together, sew the arm top left to the arm bottom.


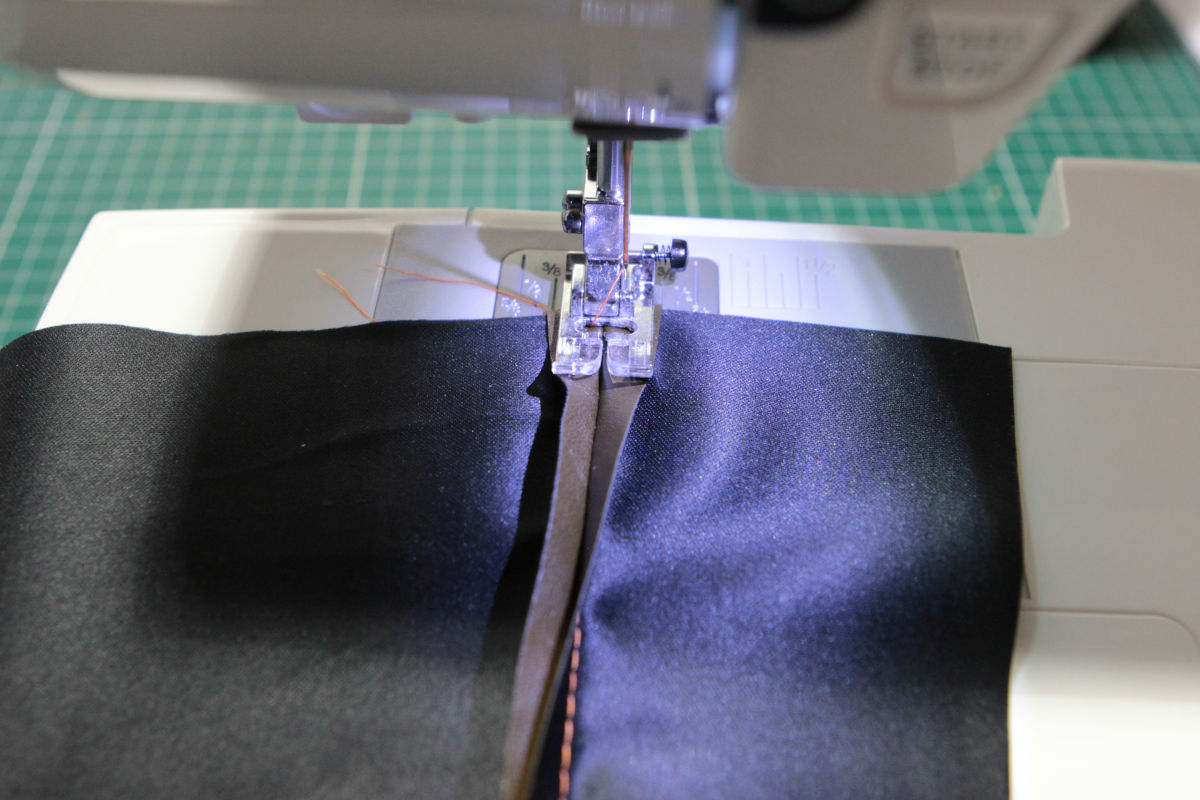
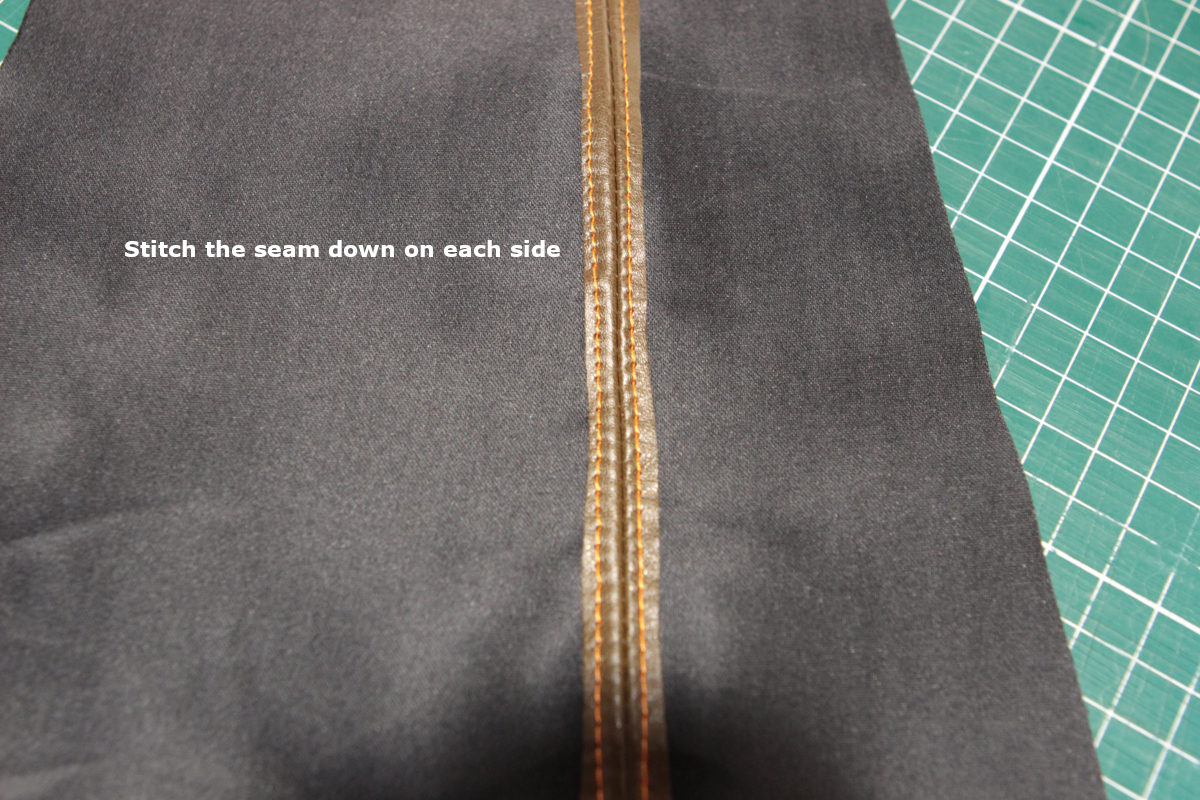
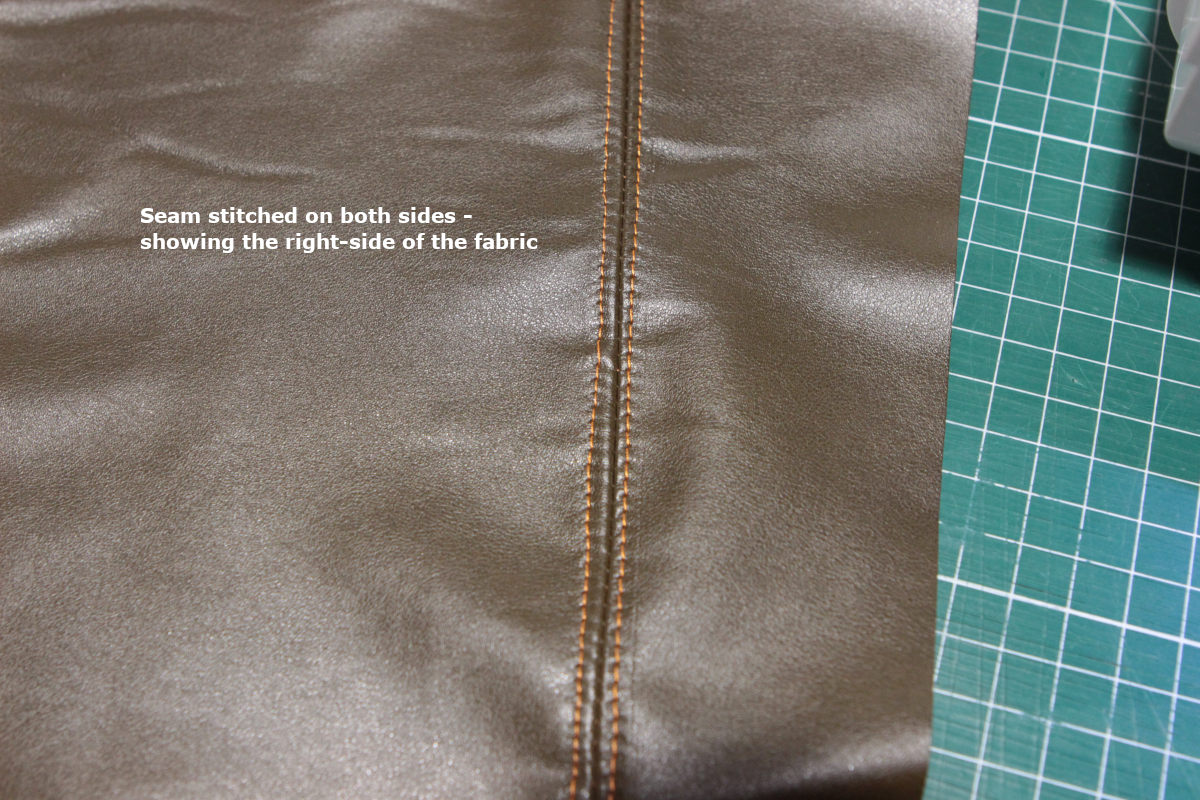
On the wrong-side, fold down the seam so that it separates to the left and right.  Stitch each side down.


Repeat the above to sew the arm top right to the arm bottom.

Step 3: Stitch the thumb opening

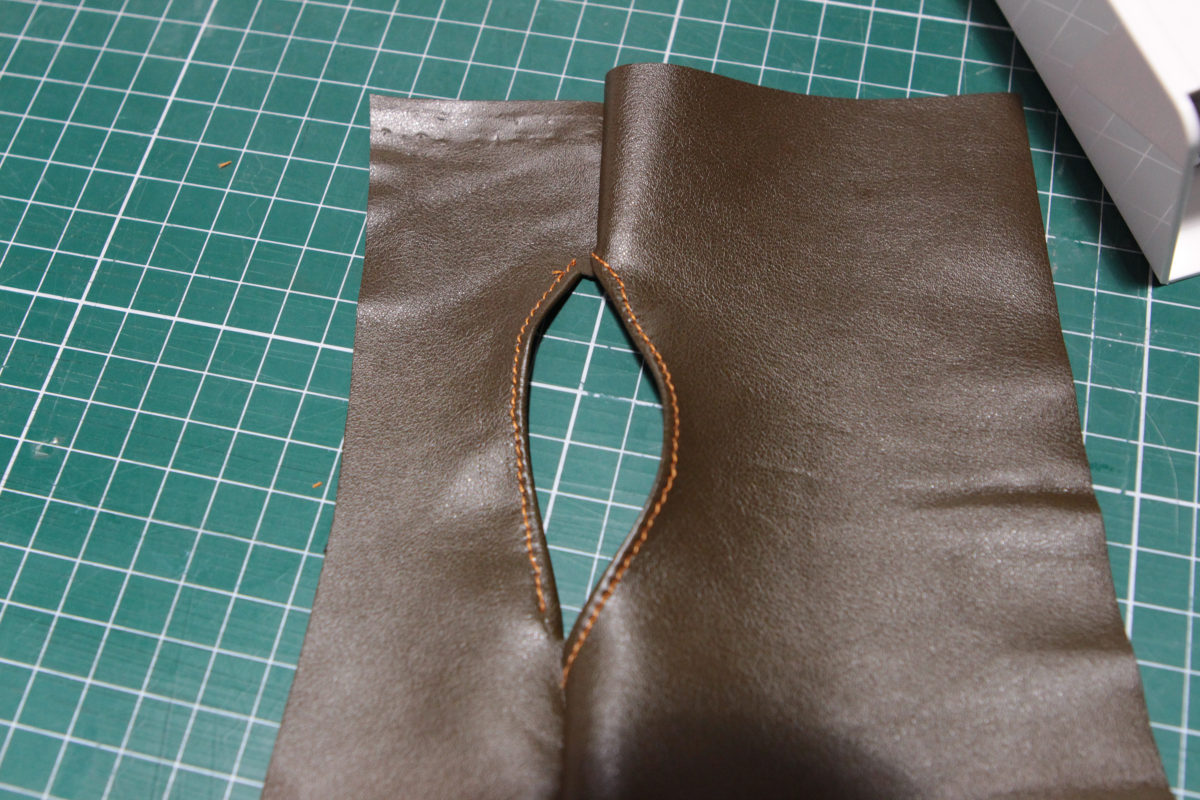
Fold under the thumb opening by 1/4 inch.  Begin stitching 2-3 stitches over the existing stitching leading to the thumb opening. 

At the corner, place your needle into the fabric and stop.  Pivot the material and begin sewing down the thumb opening.  Continue all the way around the opening - working slowly and carefully.


Step 4: Finish edges

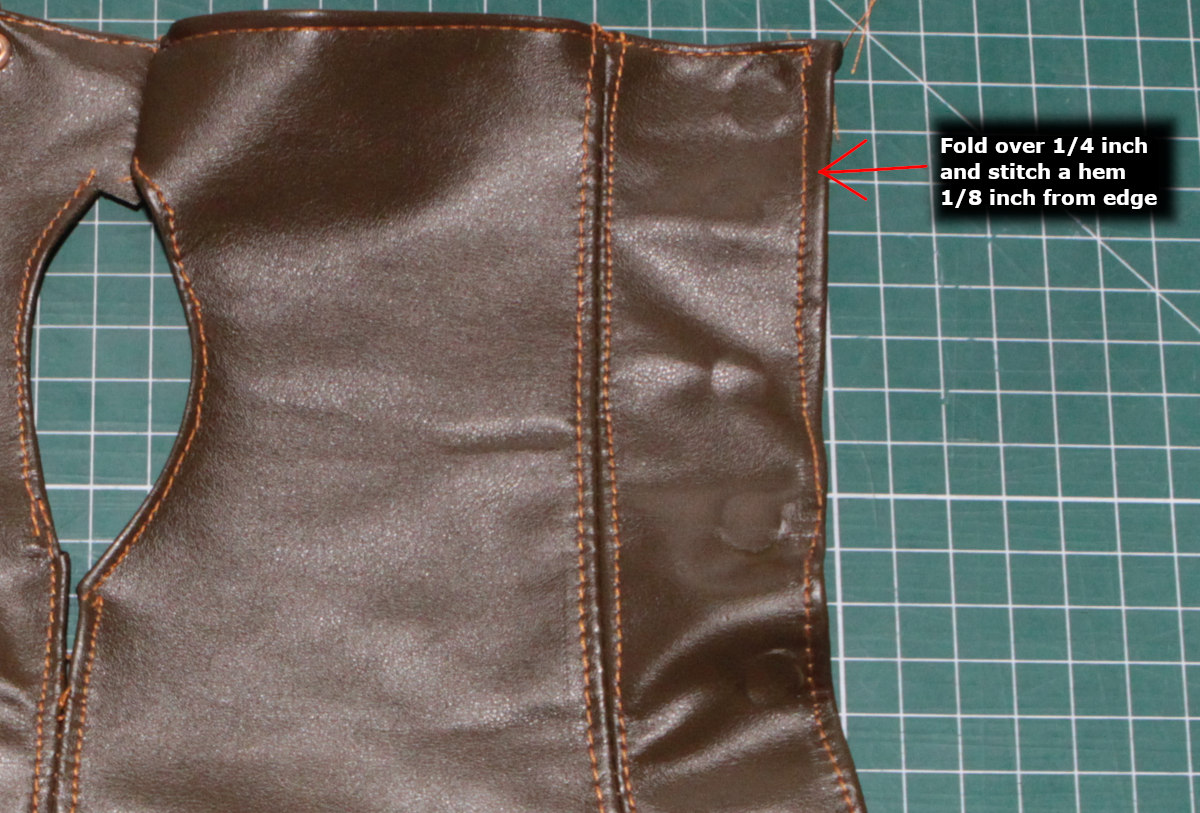
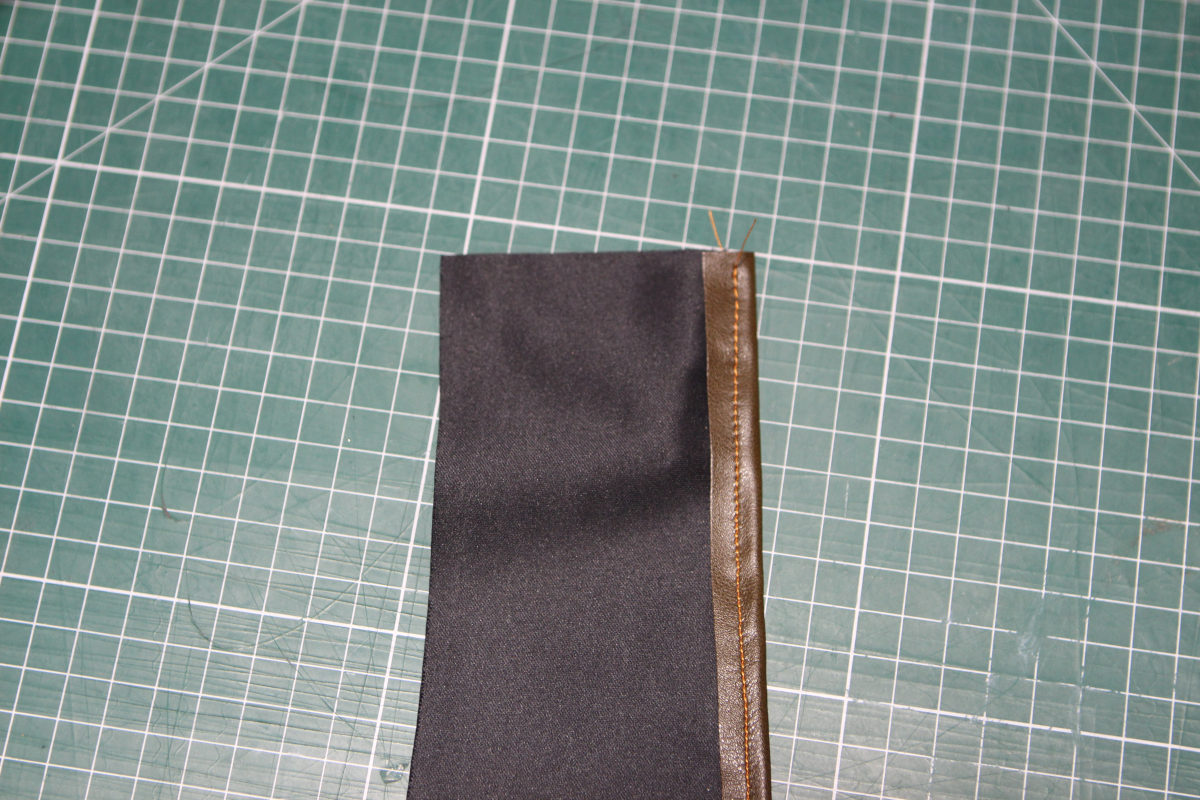
Fold under the edge of the arm top right and top stitch a seam 1/8 from the edge.


Repeat for the arm top left section.


Step 5: Attach skin protection panel

Fold under the left side of the skin panel by 1/4 inch and top stitch 1/8 inch from the edge.


Fold under the front side (near where your fingers will be) of the skin panel by 1/4 inch and top stitch 1/8 inch from the edge.


Fold under the rear side (near where your elbow will be) of the skin panel by 1/4 inch and top stitch 1/8 inch from the edge.

Attach the skin panel to the arm top left by stitching on the far side of where the eyelets will go.


Step 6: Attach Eyelets

Mark the locations for your eyelets, evenly spacing them out along the entire length of the arm top left and arm top right sections.

Using an awl, cut holes for the eyelets, ensuring that the hole is slightly smaller than the eyelet opening.

Using eyelet pliers, attach the eyelets into the holes.


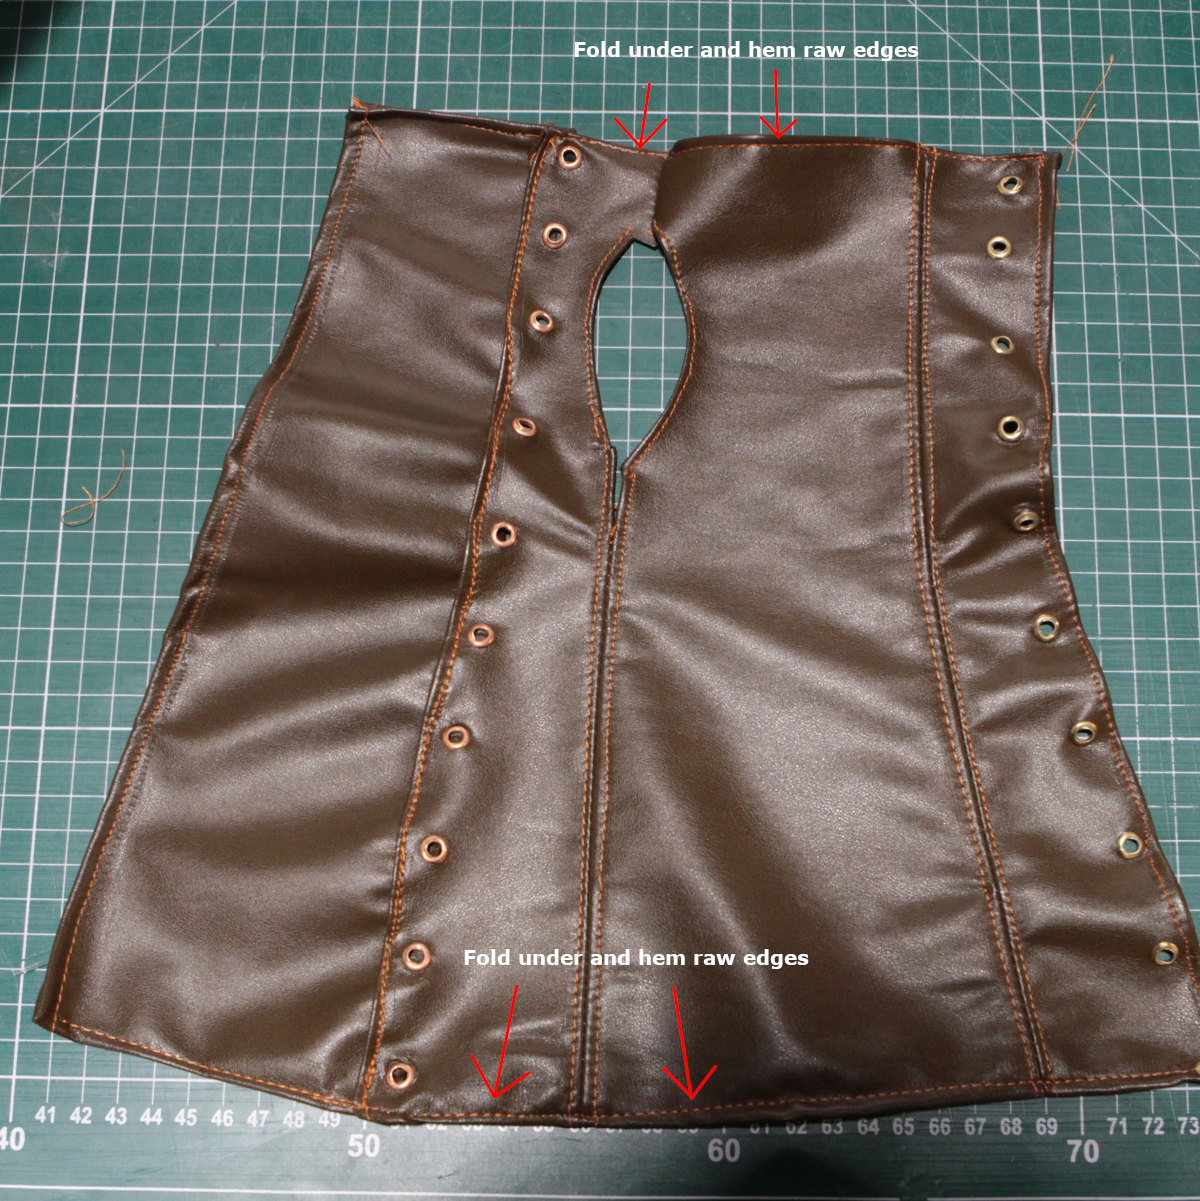
Step 7: Hem the edges.

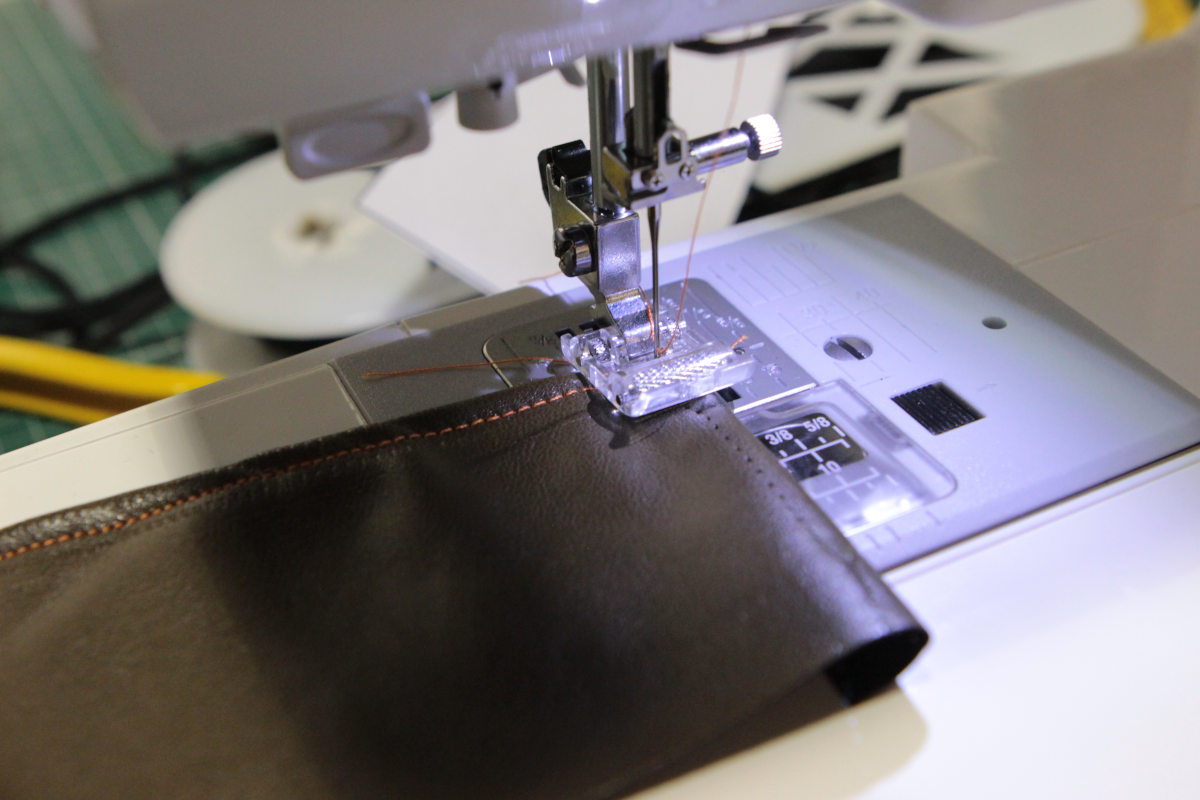
Fold under the hem at the forearm and sew down a 1/4 inch seam to provide a finished edge matching up the edges with the skin panel.

Fold under the hem near the fingers and sew down a 1/4 inch seam matching up the edges with the skin panel.


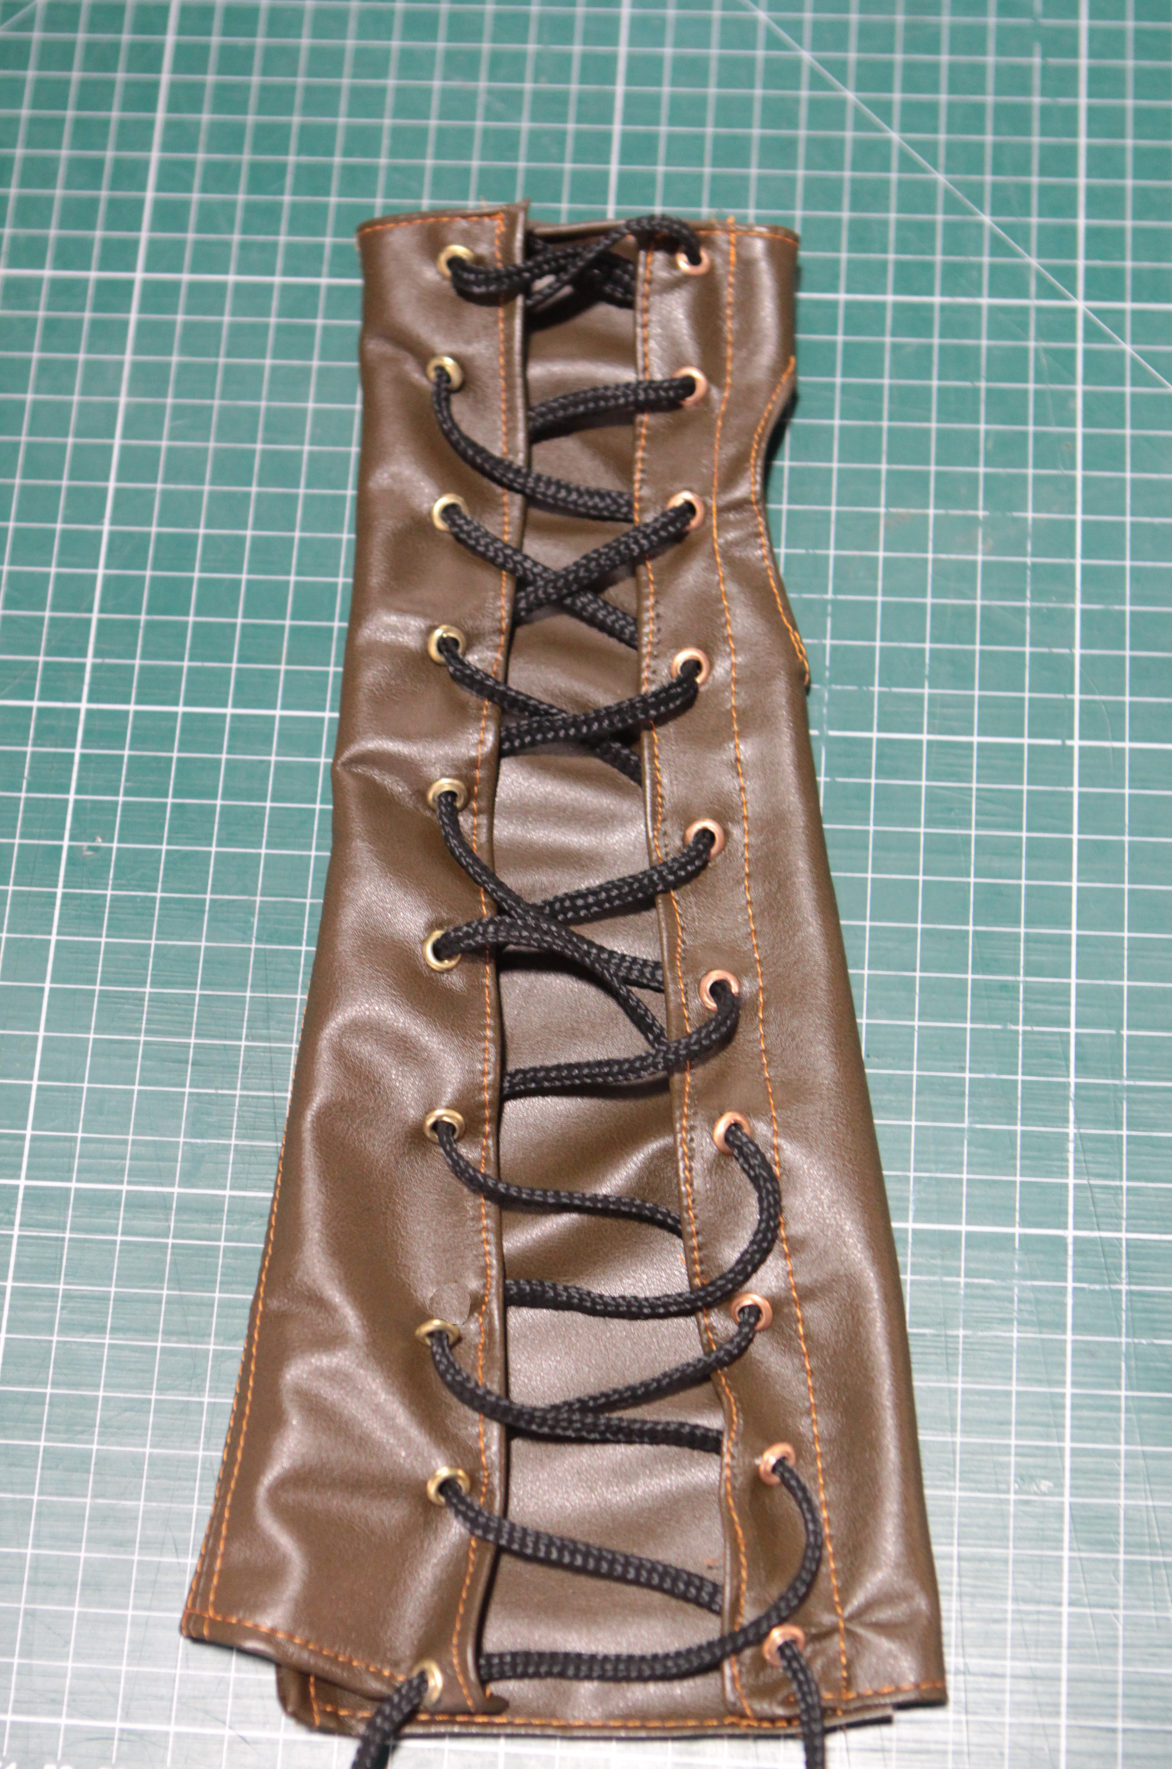
Step 8: Lace up the arm binder

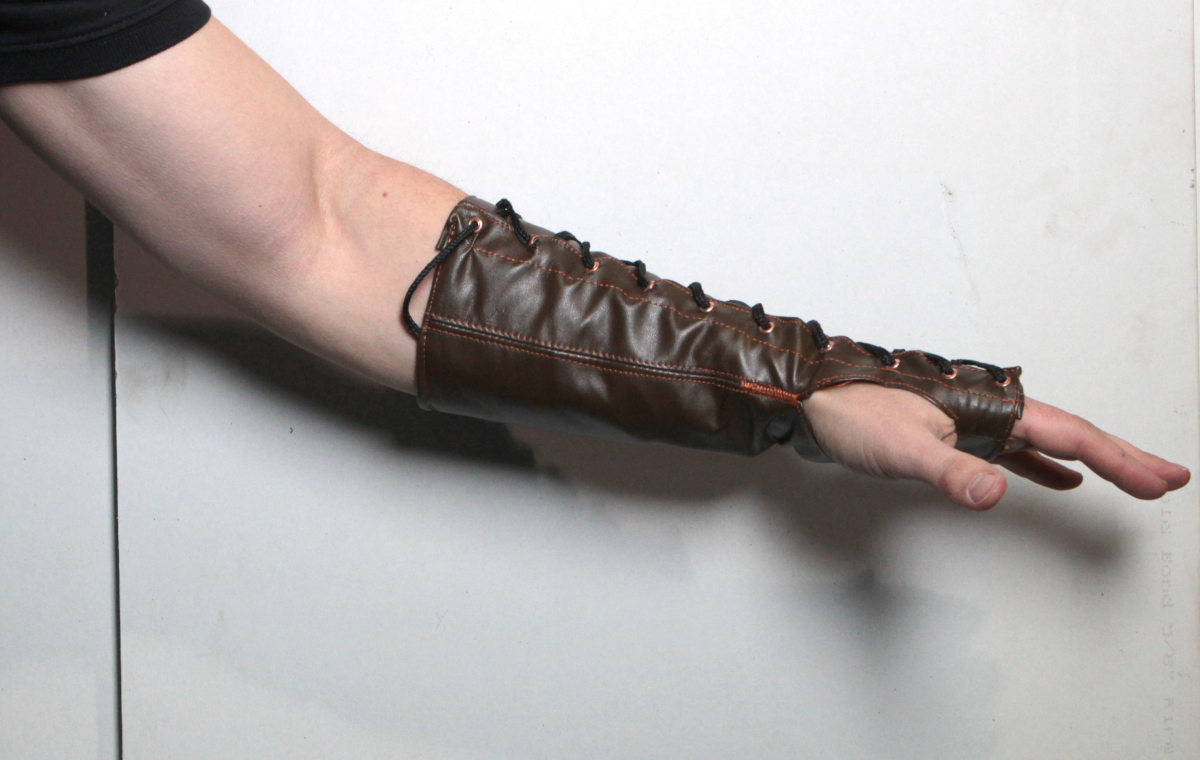
The length of the lace should be the length of the armbinder x 8.  EG: if total length is 12 inches, then the total length of the cording should be 8x12 = 96 inches.  (If you have excess cording, it can be cut shorter or tucked into the top side of the armbinder.)

Pull 1/2 of the lace through the eyelets near your fingers.

Work 1/2 of the lace up the arm binder skipping every other hole as if lacing a shoe.

Repeat for the other 1/2 of the lace.


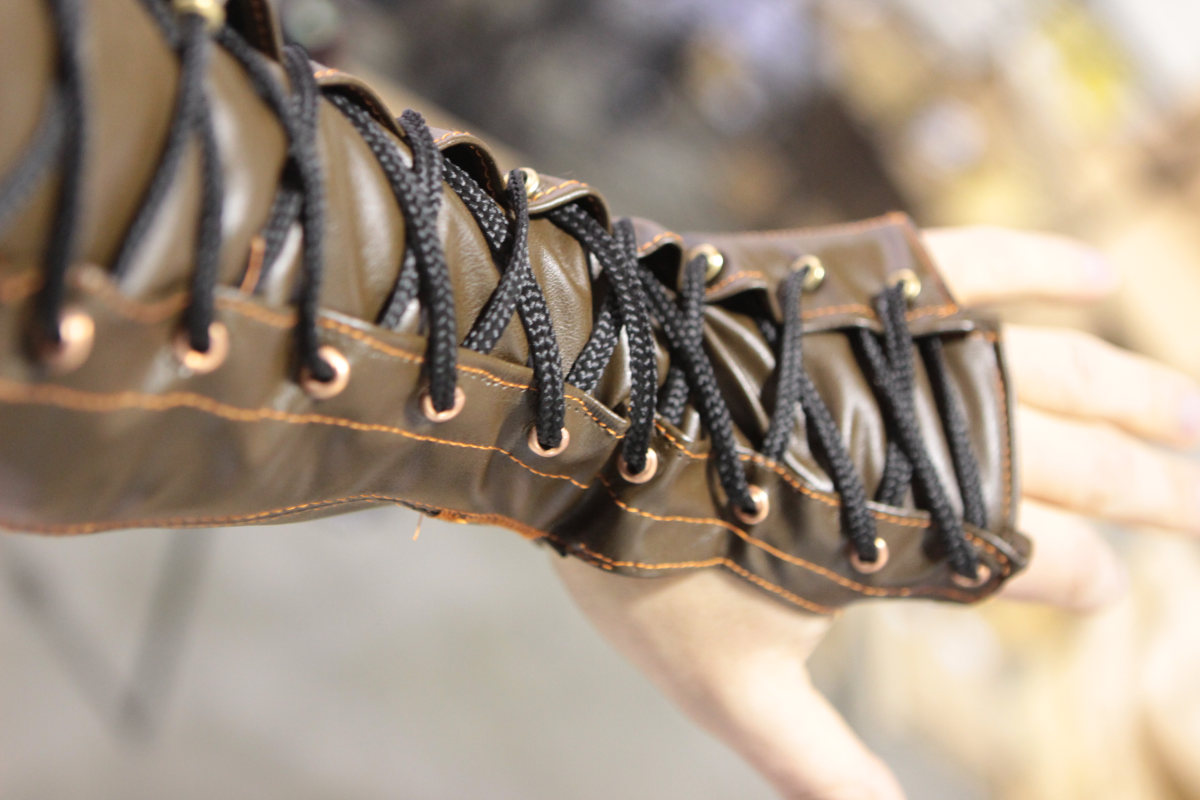
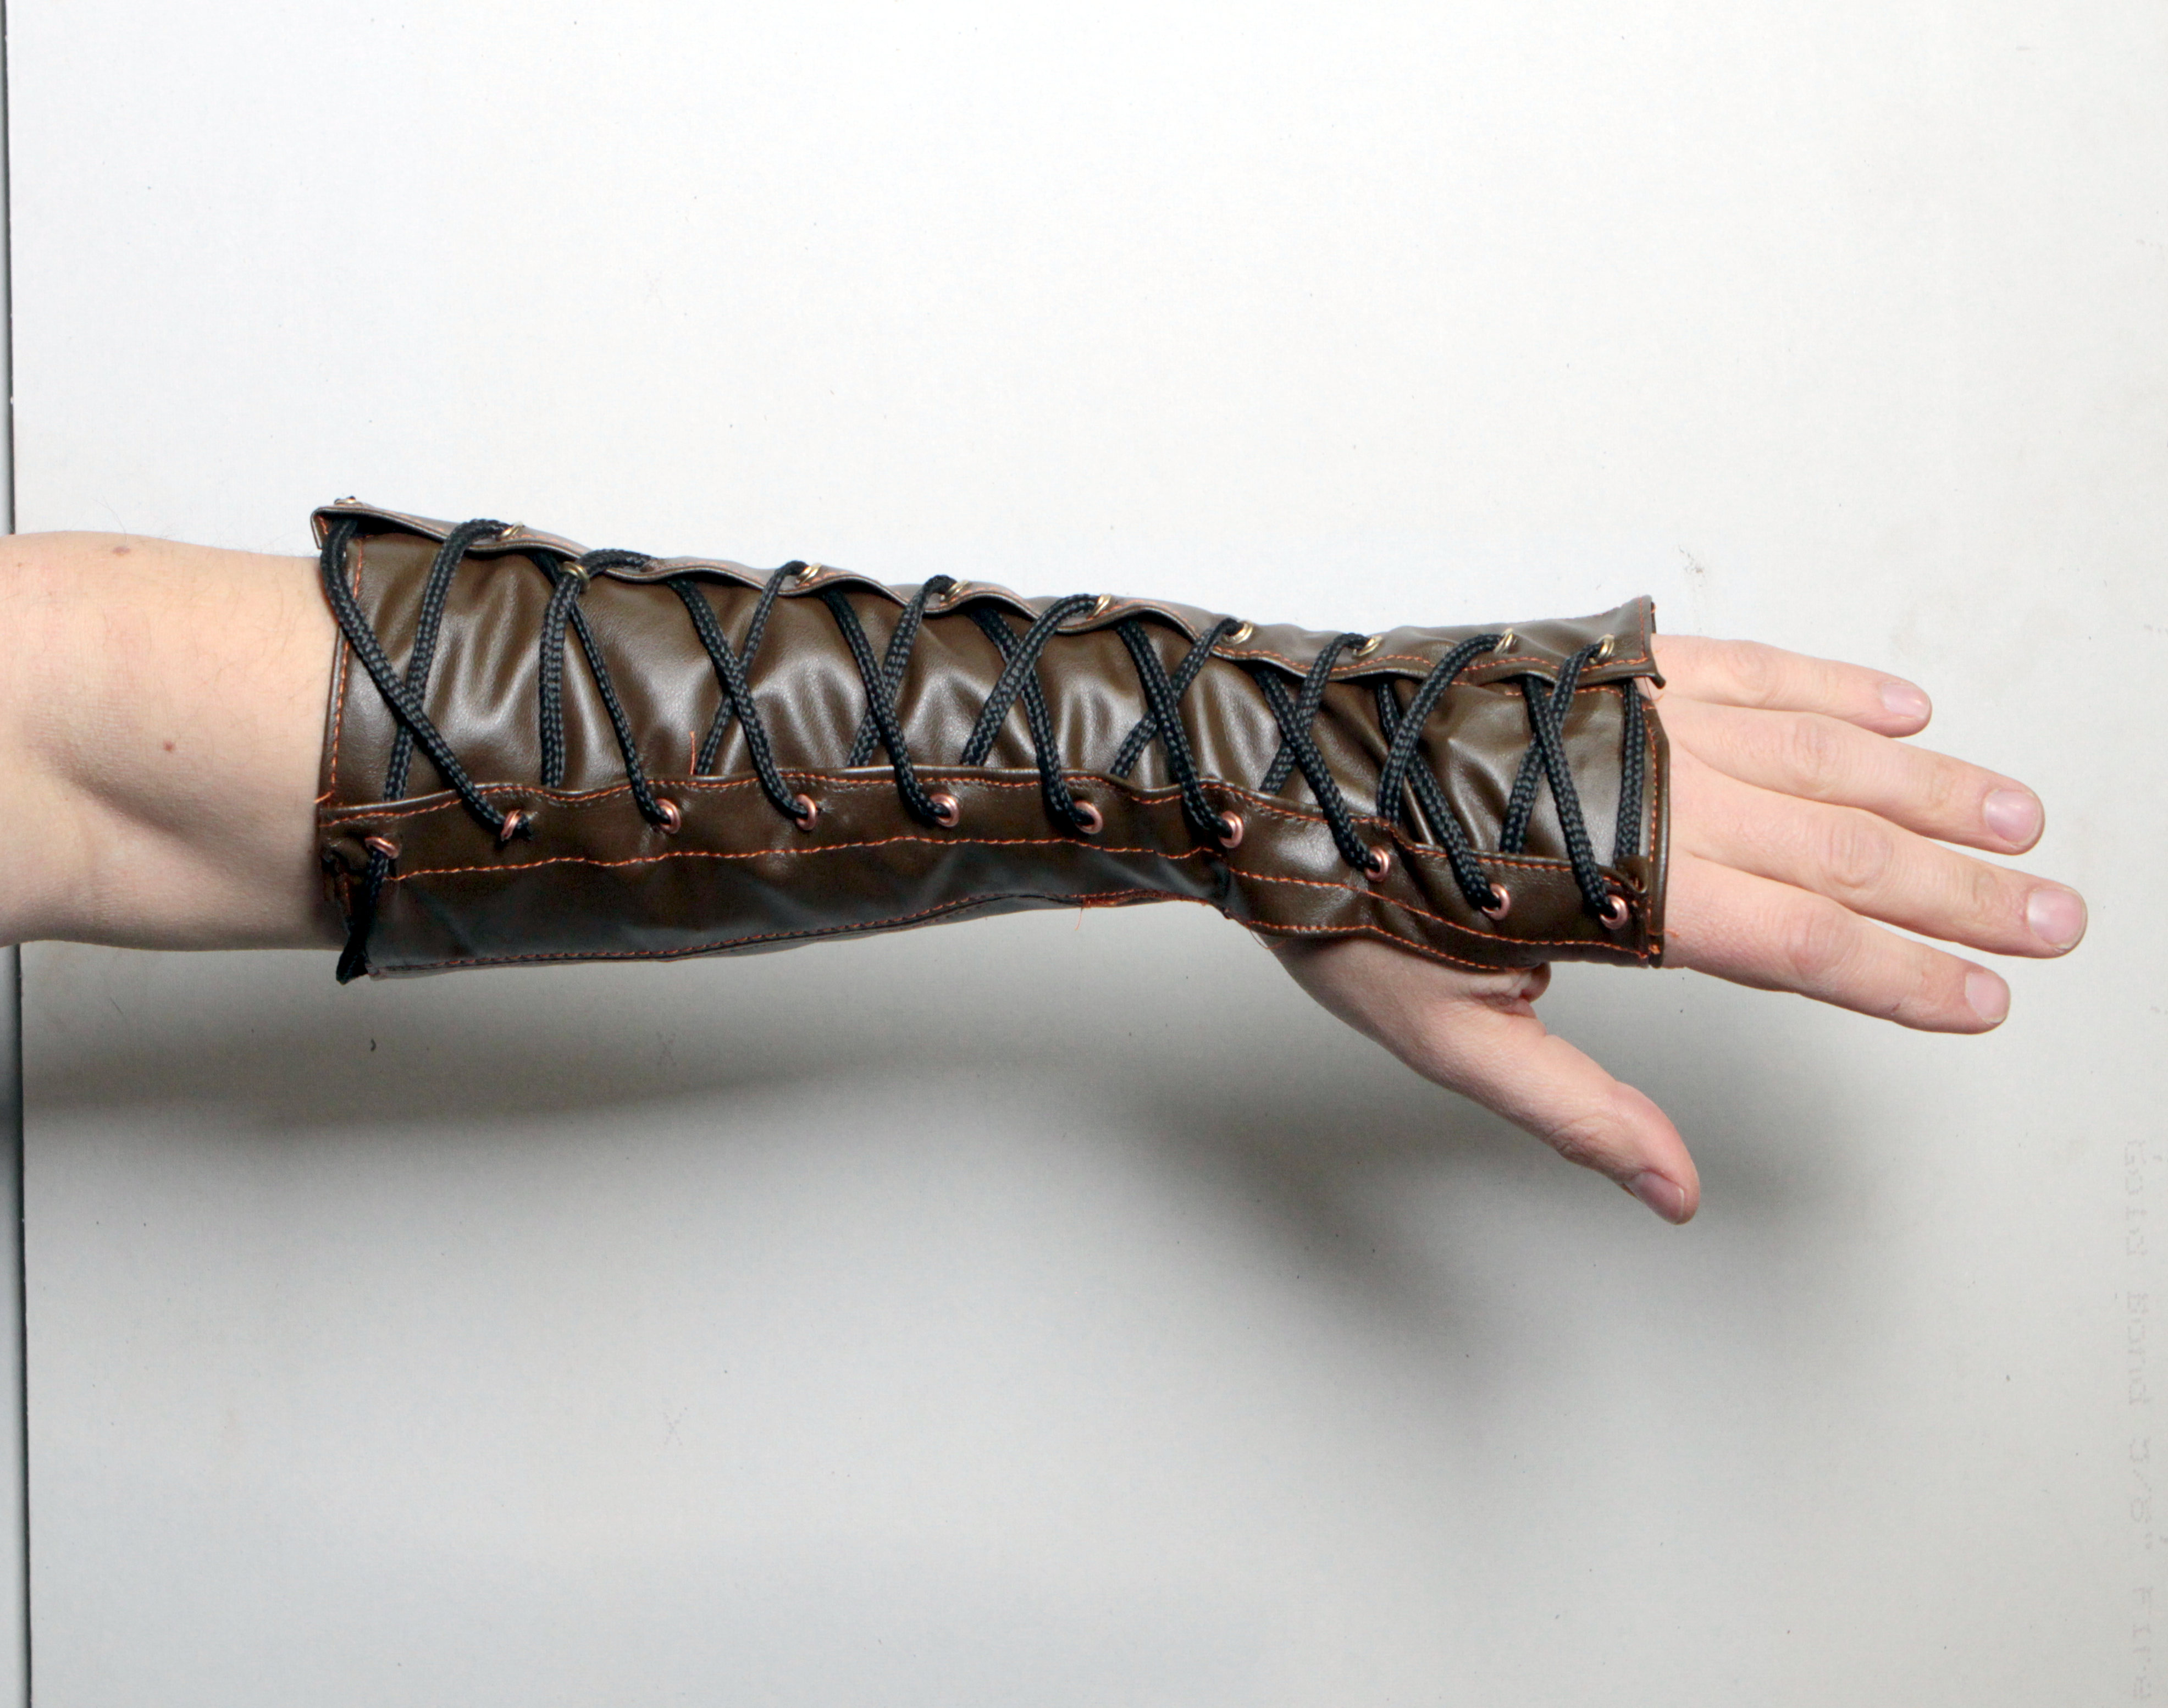
Try it on and tight the lacing as needed. 


Do you have an article, tip, or trick that you would like to share? Send us an email at: sales@mjtrends.com so that we can include it in future articles.