0
There no items in your cart.
Checkout
MJTRENDS

Cut out pattern

Gather your materials:

  1. 4-way stretch fabric
  2. Clear inlay for "V"
  3. Zipper (12 to 28 inches)

Cut out your pattern.

For the V section and the rear section, fold over your material and then place the pattern section on top of it and cut out as shown.


For the front section, cut out with the bottom part on the fold as the pattern shows:


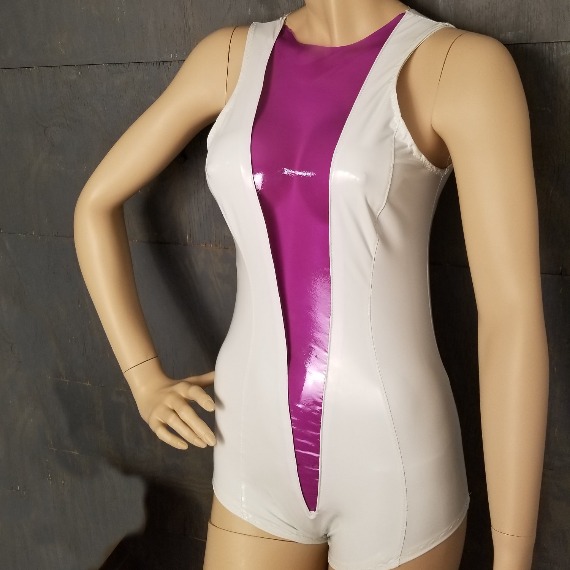
Step 1: Sew V-section to front section

Cut 2 slits at the bottom of the front section at a 45 degree angle that are about 1/4 inch long.


Fold back the slit 'v' and sew it down.


Fold back the sides of the 'v' and sew them down with a 1/8 inch seam allowance.


Place your center "V" section underneath your opening and stitch-the-ditch to attach it to the front section.


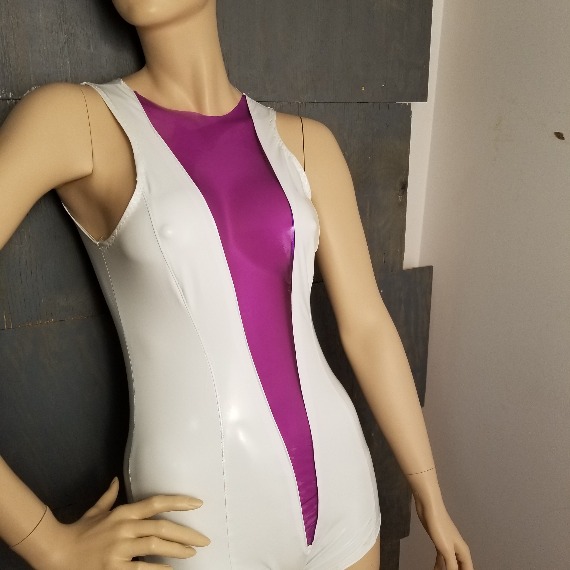
Trim away any excess material from the inside of the garment.  Your garment should look like the following at this point:


Step 2: Sew side sections to front

Sew the side sections to the front section.


We prefer to topstitch the seam down, but this is optional.


Step 3: Stitch rear neckline

Fold over the rear neckline by 1/4 inch and stitch down.


Step 4: Attach interfacing to rear

Cut out a piece of interfacing that is 1/2 inch wider than your zipper and 1 inch longer.


Tape (if sewing leather or vinyl) or pin your interfacing into place. 

Mark 1 inch prior to the end of the zipper on the interfacing.

Draw a line down the center of the interfacing - this will help guide your sewing in the next step.


Sew 1/8 inch from the center line you just drew, down to the mark where the zipper will end.  With your needle in the fabric, lift your presser foot and pivot the material.  Sew across, then with your needle in the fabric, lift your presser foot and pivot the fabric to sew back up to the top of the rear.


Cut a slit down the center of the interfacing.  At the end, cut 2 diagonal slits at a 45 degree angle the same as you did for the front section.


Step 5: Sew zipper to rear

Fold the interfacing over so that it is on the wrong side of the material.  Now there will be a finished edge to sew your zipper.


Stitch down the finished edge, keeping the interfacing folded over and staying 1/4 inch from the edge.


The rear should now look like this:


Stitch in the ditch of the previous seam you just made, sewing the zipper to the opening with the zipper underneath the finished edge.


Step 6: Sew front section to rear section

With right sides together, sew the front to the rear at the side, at the shoulder, and at the crotch.


Step 7: Finish raw edges

Sew fold-over elastic as binding across the leg and arm-hole openings.  When sewing across the butt section of the rear, stretch the elastic slightly to give a better fit.


Do you have an article, tip, or trick that you would like to share? Send us an email at: sales@mjtrends.com so that we can include it in future articles.